Before the deep learning revolution redefined computer vision, Haar features and Haar cascades were the tools you must not ignore for object detection. Even today, they are very useful object detectors because they are lightweight. In this post, you will learn about the Haar cascade and how it can detect objects. After completing this post, you will know:
- What is Haar features
- How Haar cascade is using Haar features to detect objects
- Some predefined Haar cascade object detectors in OpenCV
Kick-start your project with my book Machine Learning in OpenCV. It provides self-study tutorials with working code.
Let’s get started.
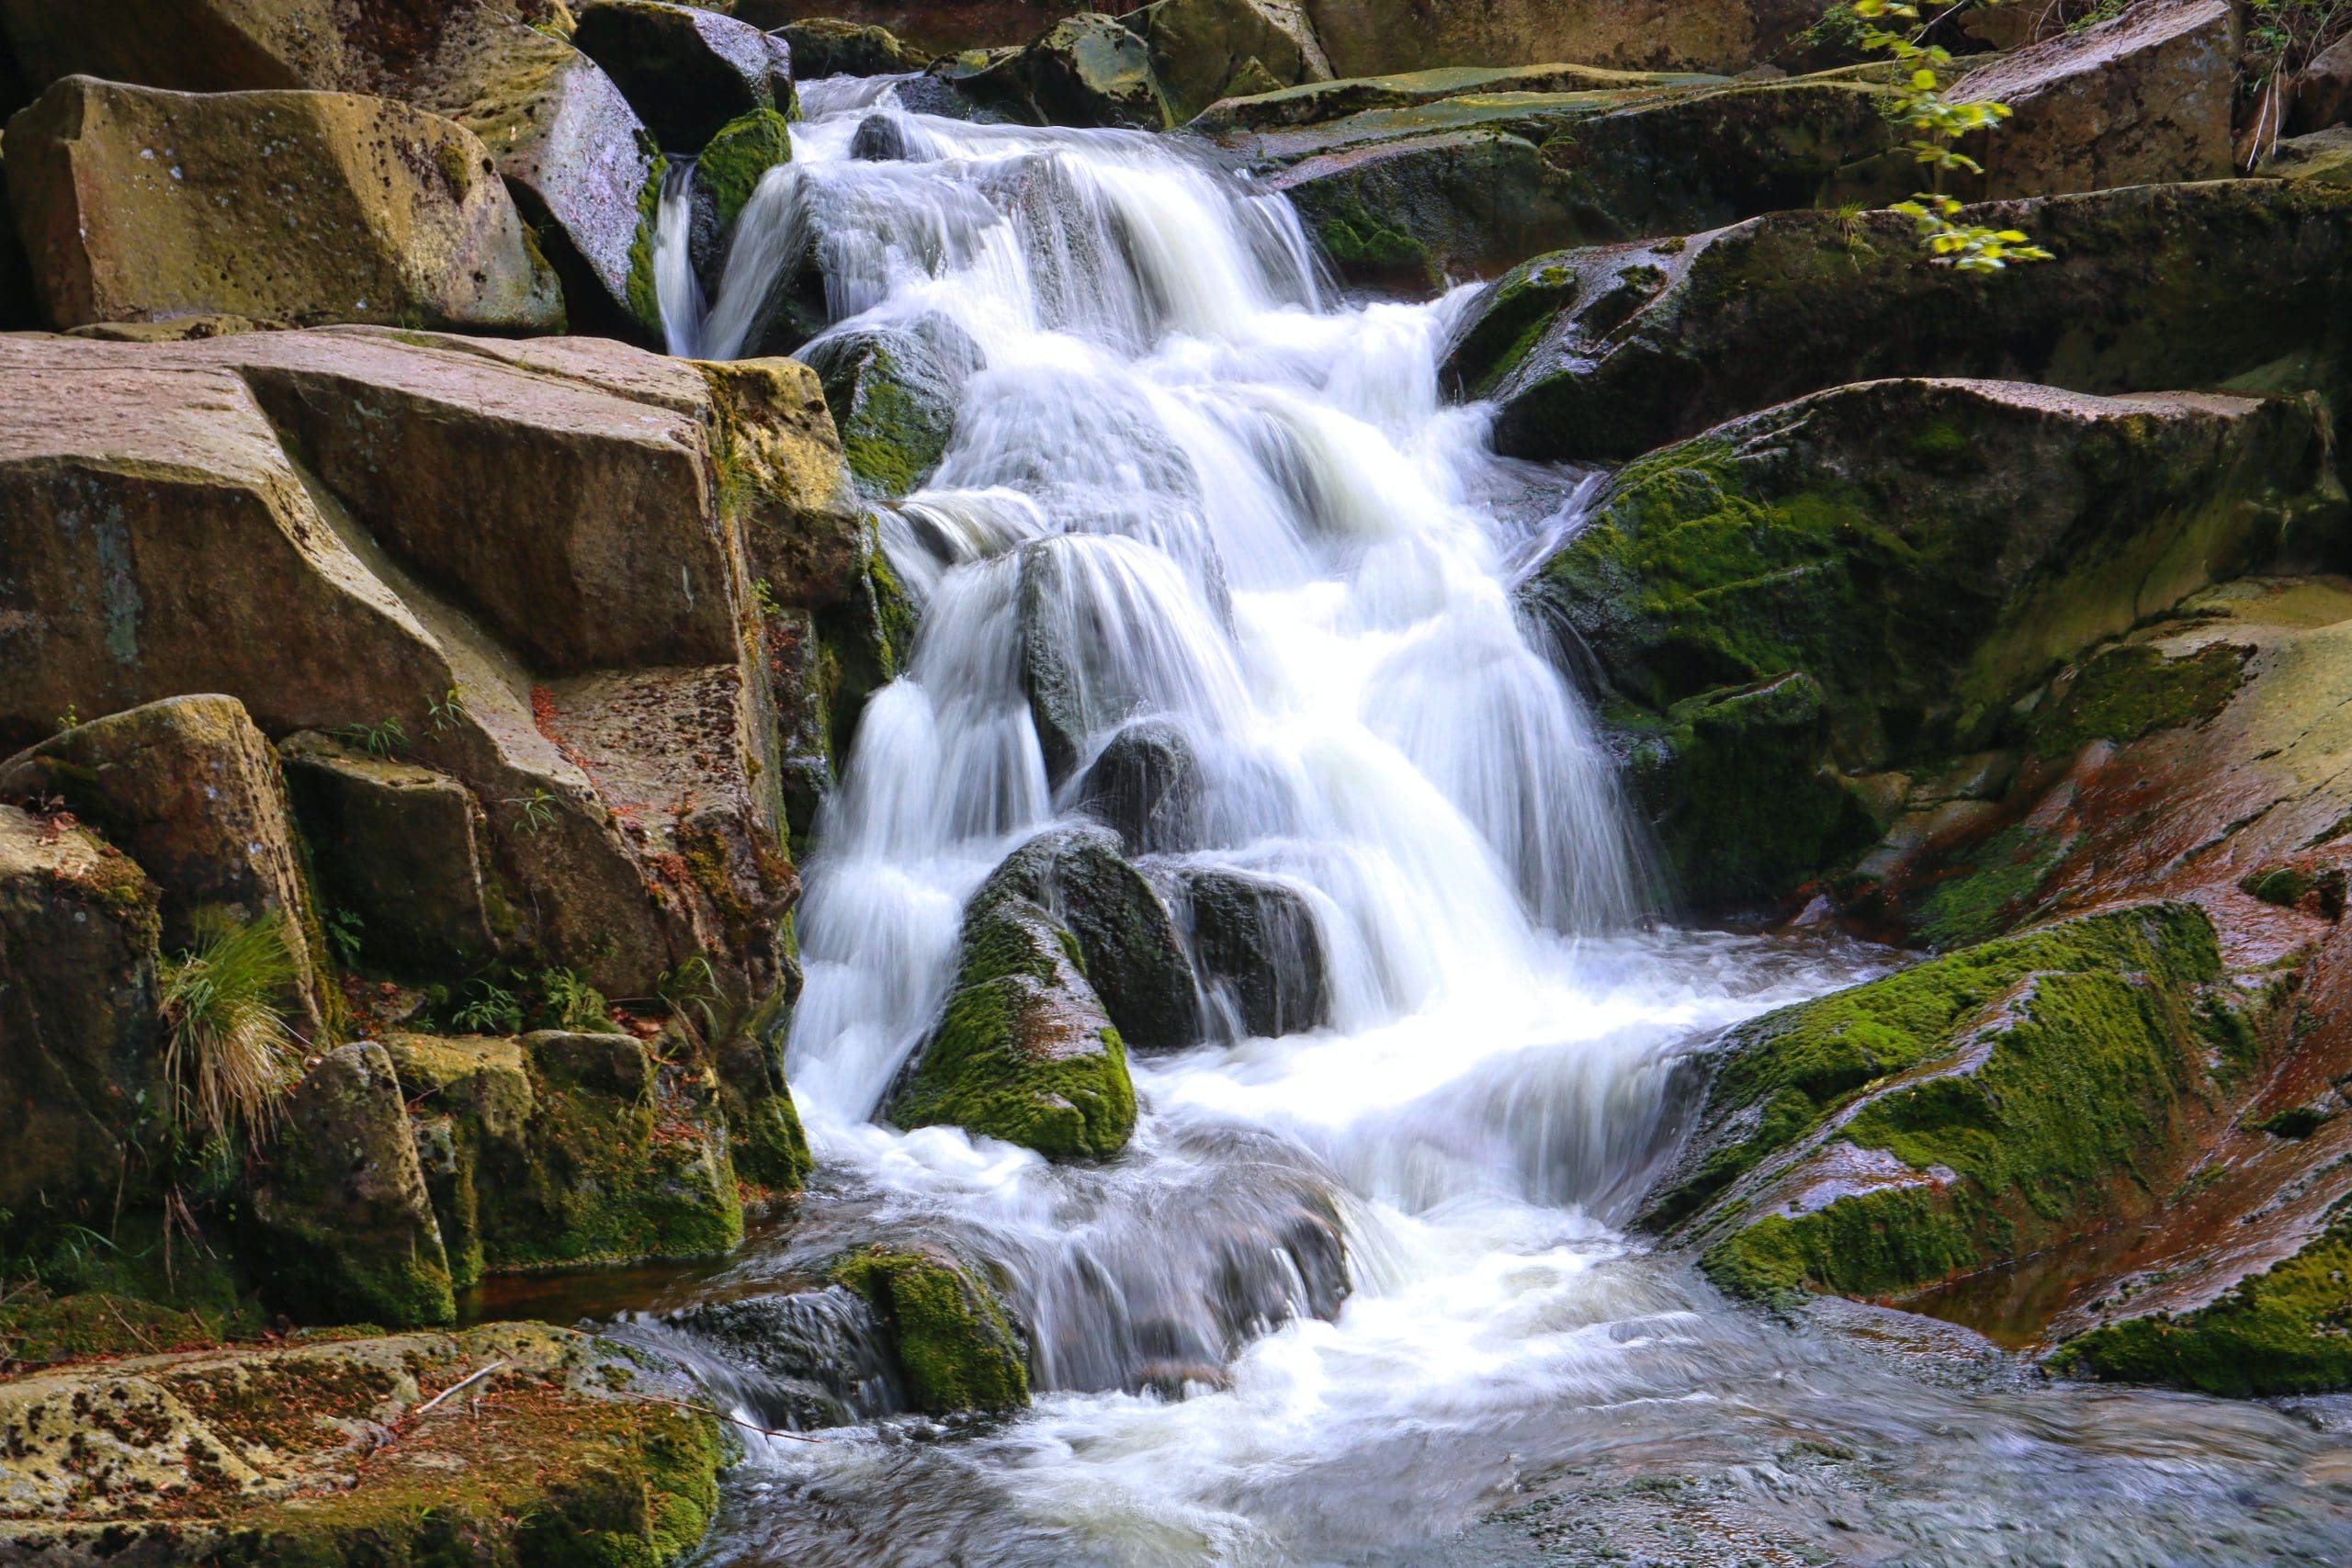
Using Haar Cascade for Object Detection
Photo by Alexander Hipp. Some rights reserved.
Overview
This tutorial is divided into two parts; they are:
- What are Haar Features and Haar Cascade?
- Haar Cascade in OpenCV
What are Haar Features and Haar Cascade?
Since the technique developed by Paul Viola and Michael Jones in 2001, Haar features and Haar cascades have revolutionized object detection. They have become integral components in various applications, ranging from facial recognition to real-time object detection.
Haar features are extracted from rectangular areas in an image. The feature’s value is based on the pixel intensities. Usually, it is calculated using a sliding window, and the area within the window is partitioned into two or more rectangular areas. Haar feature is the difference in the sum of pixel intensities between these areas.
It is believed that an object’s presence will distort the variation of pixel intensity. For example, the background is usually in a uniform pattern, in which a foreground object will not fit. By checking the pixel intensity between neighboring rectangular areas, you should be able to notice a difference. Hence it is indicative of the object’s presence.
For the efficiency of calculation, the rectangular areas in Haar features are usually parallel to the edges of the image rather than tilted. However, we can use multiple sizes and shapes of rectangles to capture different features and scale variations of an object. Therefore, the key strength of Haar features lies in their ability to represent three patterns:
- Edges: Either vertical or horizontal due to how we oriented the rectangular area. They are useful for identifying boundaries between different image regions.
- Lines: The diagonal edges in an image. They are useful for identifying lines and contours in objects.
- Center-surrounded features: This detects the changes in intensity between the center of a rectangular region and its surrounding area. This is useful to identify objects with a distinct shape or pattern.
Haar cascade combines multiple Haar features in a hierarchy to build a classifier. Instead of analyzing the entire image with each Haar feature, cascades break down the detection process into stages, each consisting of a set of features.
The key idea behind Haar cascade is that only a small number of pixels among the entire image is related to the object in concern. Therefore, it is essential to discard the irrelevant part of the image as quickly as possible. During the detection process, the Haar cascade scans the image at different scales and locations to eliminate irrelevant regions. The cascade structure, trained using the AdaBoost algorithm, enables an efficient, hierarchical evaluation of features, reducing the computational load and accelerating the detection speed.
Haar Cascade in OpenCV
Haar cascade is an algorithm, but first, you need to train a Haar cascade classifier before you can use it as an object detector.
In OpenCV, there are pre-trained Haar cascade classifiers for the following (you can download the model files from https://github.com/opencv/opencv/tree/4.x/data/haarcascades):
- human face
- eye detection
- full body, upper body, or lower body of a human
- vehicle license plate
The pre-trained classifier is stored as an XML file. You can find the filename of the built-in classifiers from the GitHub link. To create a classifier, you must provide the path to this XML file. If you’re using the one that shipped with OpenCV, you can use the following syntax:
|
1 2 |
# Load the Haar cascade for face detection face_cascade = cv2.CascadeClassifier(cv2.data.haarcascades + 'haarcascade_frontalface_default.xml') |
Usually a photo has multiple channels for the different colors (such as red, green, and blue). Haar cascade depends on pixel intensity only. Hence you should provide a single channel image, such as the grayscale version.
Want to Get Started With Machine Learning with OpenCV?
Take my free email crash course now (with sample code).
Click to sign-up and also get a free PDF Ebook version of the course.
Using the Haar cascade classifier to detect objects is to use the method detectMultiScale(). It takes the following arguments:
image: This is the input image on which you want to perform object detection. It should be in grayscale format, or the “V” channel for an image in HSV channel formatscaleFactor: This parameter compensates for the fact that an object at different distances from the camera will appear at different sizes. It controls how much the image size is reduced at each image scale. It must be strictly greater than 1. A lowerscaleFactorincreases the detection time but also increases the chance of detection. Typical values range from 1.01 to 1.3.minNeighbors: This parameter specifies how many neighbors each candidate object should have to retain it. Higher values result in fewer detections but with higher quality. Lower values may lead to more detections but with possible false positives. It’s a trade-off between precision and recall.minSize: This parameter sets the minimum object size. Objects smaller than this will be ignored. It’s a tuple of the form(width, height).
Let’s try with an example. You can download a street photo at the following URL:

A photo for face detection using Haar cascade.
Photo by JACQUELINE BRANDWAYN. Some rights reserved.
A medium size resolution of 1920×1080 is used in this example. If you have a different resolution, you may need to tweak the arguments to detectMultiScale() below specifically the minSize.
Let’s create a face detector and find the location of the faces of the pedestrians. The classifier is created using the pre-trained model haarcascade_frontalface_default.xml that shipped with OpenCV. The model file is located in the path pointed by cv2.data.haarcascades. Then we can use it to detect faces as bounding boxes:
|
1 2 |
face_cascade = cv2.CascadeClassifier(cv2.data.haarcascades + 'haarcascade_frontalface_default.xml') faces = face_cascade.detectMultiScale(gray, scaleFactor=1.1, minNeighbors=4, minSize=(20, 20)) |
Feel free to adjust the parameters in your case. To illustrate the result, you can make use of OpenCV’s function to draw on the original image,
|
1 2 |
for (x, y, w, h) in faces: cv2.rectangle(img, (x, y), (x+w, y+h), (255, 0, 0), 2) |
Note that the cv2.rectangle() function asks for the coordinates of the opposite corners of a rectangular box, while the output of detectMultiScale() provides the coordinates of the top left corner and the width and height. The function above draws a blue box of two pixels wide on each face detected. Note that in OpenCV, images are presented in BGR channel order. Hence the pixel color (255, 0, 0) represents blue.
The result is as follows:

Faces as detected by Haar cascade
You can see that there are some false positives but overall, it provided a quite good result. You can adjust the parameters above to see how your result changes. The quality of the object detector using Haar cascade depends on how well it is trained to produce the model you read from the XML file.
The complete code is as follows:
|
1 2 3 4 5 6 7 8 9 10 11 12 13 14 15 16 17 18 19 20 21 22 23 24 25 26 27 28 29 |
import cv2 import sys # Photo https://unsplash.com/photos/people-walking-on-sidewalk-during-daytime-GBkAx9qUeus # Jacqueline Brandwayn filename = 'jacqueline-brandwayn-GBkAx9qUeus-unsplash.jpg' #filename = 'people2.jpg' # Load the Haar cascade for face detection face_cascade = cv2.CascadeClassifier(cv2.data.haarcascades + 'haarcascade_frontalface_default.xml') # Read the input image img = cv2.imread(filename) # Convert the image to grayscale gray = cv2.cvtColor(img, cv2.COLOR_BGR2GRAY) # Perform face detection faces = face_cascade.detectMultiScale(gray, scaleFactor=1.1, minNeighbors=4, minSize=(20, 20)) # Draw rectangles around the detected faces for (x, y, w, h) in faces: cv2.rectangle(img, (x, y), (x+w, y+h), (255, 0, 0), 2) # Display the result cv2.imshow('Face Detection', img) cv2.waitKey(0) cv2.destroyAllWindows() |
Further Reading
This section provides more resources on the topic if you want to go deeper.
Books
- Mastering OpenCV 4 with Python, 2019.
- Digital Image Processing, 2017
Papers
- Paul Viola and Michael J. Jones. Robust real-time face detection. International Journal of Computer Vision, 57(2):137–154, 2004.
- Rainer Lienhart and Jochen Maydt. An extended set of haar-like features for rapid object detection. In Proc. Int. Conf. Image Processing. 2002, volume 1, pages 1-900. IEEE, 2002.
Websites
- Haar features on Wikipedia: https://en.wikipedia.org/wiki/Haar-like_feature
- OpenCV, https://opencv.org/
- OpenCV Cascade Classifier, https://docs.opencv.org/4.x/db/d28/tutorial_cascade_classifier.html
Summary
In this tutorial, you learned how to use OpenCV’s Haar cascade classifier.
Specifically, you learned:
- What is Haar features and Haar cascade, and how it sees an object
- How to use the built-in Haar cascade classifier to detect objects in a photo using OpenCV




great job, thanks for sharing.
You are very welcome Issa! Thank you for your support!