Digital videos are close relatives of digital images because they are made up of many digital images sequentially displayed in rapid succession to create the effect of moving visual data.
The OpenCV library provides several methods to work with videos, such as reading video data from different sources and accessing several of their properties.
In this tutorial, you will familiarise yourself with the most basic OpenCV operations essential when working with videos.
After completing this tutorial, you will know:
- How a digital video is formulated as a close relative of digital images.
- How the image frames comprising a video are read from a camera.
- How the image frames comprising a video are read from a saved video file.
Kick-start your project with my book Machine Learning in OpenCV. It provides self-study tutorials with working code.
Let’s get started.

Reading and Displaying Videos Using OpenCV
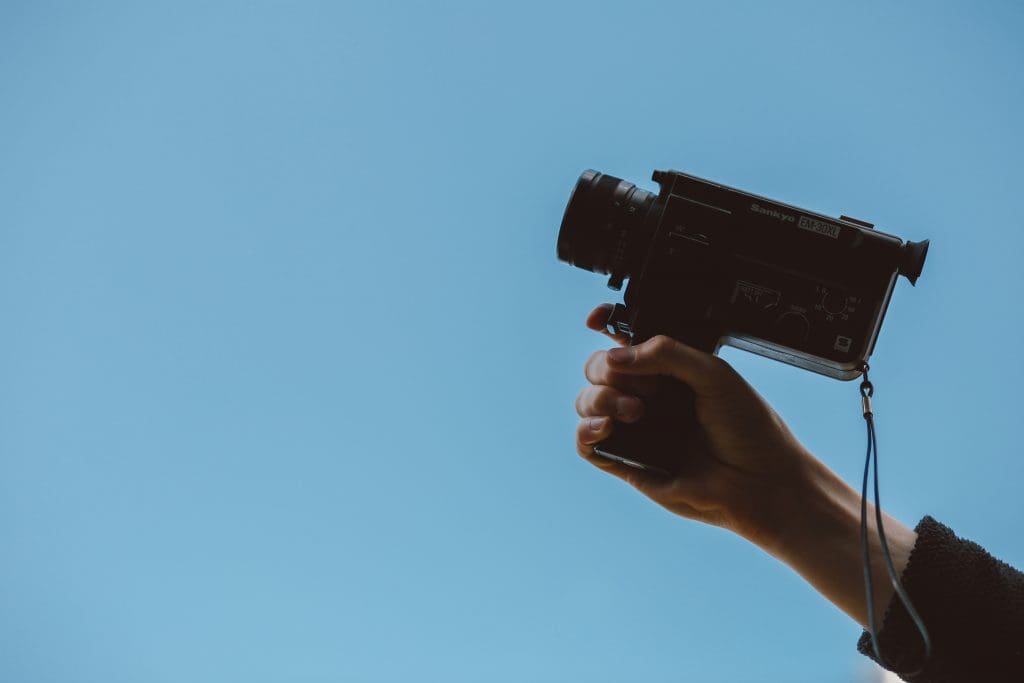
Photo by Thomas William, some rights reserved.
Tutorial Overview
This tutorial is divided into three parts; they are:
- How is a Video Formulated?
- Reading and Displaying Image Frames From a Camera
- Reading and Displaying Image Frames From a Video File
How is a Video Formulated?
We have seen that a digital image comprises pixels, with each pixel characterized by its spatial coordinates inside the image space and its intensity or gray level value.
We have also mentioned that a grayscale image comprising a single channel can be described by a 2D function, I(x, y), where x and y denote the aforementioned spatial coordinates, and the value of I at any image position (x, y) denotes the pixel intensity.
An RGB image, in turn, can be described by three of these 2D functions, IR(x, y), IG(x, y), and IB(x, y), corresponding to its Red, Green, and Blue channels, respectively.
In describing digital video, we shall add an extra dimension, t, which denotes time. The reason for doing so is that digital video comprises digital images sequentially displayed in rapid succession across a period. Within the context of video, we shall be referring to these images as image frames. The rate at which frames are displayed in succession is referred to as frame rate and is measured in frames per second, or FPS in short.
Hence, if we had to pick an image frame out of a grayscale video at a specific time instance, t, we would describe it by the function, I(x, y, t), which now includes a temporal dimension.
Similarly, if we had to pick an image frame out of an RGB video at a specific time instance, t, we would describe it by three functions: IR(x, y, t), IG(x, y, t), and IB(x, y, t), corresponding to its Red, Green, and Blue channels, respectively.
Our formulation tells us that the data contained in digital video is time-dependent, which means that the data changes over time.
In simpler terms, this means that the intensity value of a pixel with coordinates (x, y) at time instance, t, will likely be different from its intensity value at another time instance, (t + 1). This change in intensity values might come from the fact that the physical scene being recorded is changing but also from the presence of noise in the video data (originating, for instance, from the camera sensor itself).
Reading and Displaying Image Frames From a Camera
To read image frames either from a camera that is connected to your computer or a video file that is stored on your hard disk, our first step will be to create a VideoCapture object to work with. The required argument is either the index value of the type int corresponding to the camera to read from or the video file name.
Let’s start first by grabbing image frames from a camera.
If you have a webcam that is built into or connected to your computer, then you may index it by a value of 0. If you have additional connected cameras that you would otherwise wish to read from, then you may index them with a value of 1, 2, etc., depending on how many cameras you have available.
|
1 2 3 |
from cv2 import VideoCapture capture = VideoCapture(0) |
Before attempting to read and display image frames, it would be sensible to check that a connection to the camera has been established successfully. The capture.isOpened() method can be used for this purpose, which returns False in case the connection could not be established:
|
1 2 |
if not capture.isOpened(): print("Error establishing connection") |
If the camera has, otherwise, been successfully connected, we may proceed to read the image frames by making use of the capture.read() the method as follows:
|
1 |
ret, frame = capture.read() |
This method returns the next image frame in frame, together with a boolean value ret that is True if an image frame has been successfully grabbed or, conversely, False if the method has returned an empty image. The latter can happen if, for instance, the camera has been disconnected.
Displaying the grabbed image frameworks in the same way as we had done for the still images, using the imshow method:
|
1 2 3 4 |
from cv2 import imshow if ret: imshow('Displaying image frames from a webcam', frame) |
Always keep in mind that when working with OpenCV, each image frame is read in BGR color format.
In the complete code listing, we’re going to place the code above inside a while loop that will keep on grabbing image frames from the camera until the user terminates it. For the purpose of letting the user terminate the while loop, we will include the following two lines of code:
|
1 2 3 4 |
from cv2 import waitKey if waitKey(25) == 27: break |
Here, the waitKey function stops and waits for a keyboard event for the specified amount of milliseconds. It returns the code of the pressed key, or -1 if no keyboard event is generated until the specified time has elapsed. In our particular case, we have specified a time window of 25ms, and we are checking for an ASCII code of 27 that corresponds to pressing the Esc key. When the Esc key is pressed, the while loop is terminated by a break command.
The very last lines of code that we shall be including serve to stop the video capture, deallocate the memory, and close the window being used for image display:
|
1 2 3 4 |
from cv2 import destroyAllWindows capture.release() destroyAllWindows() |
In some laptop computers, you will see a small LED lit up next to your built-in webcam when the video capture is used. You need to stop the video capture to turn off that LED. It doesn’t matter if your program is reading from the camera. You must also stop the video capture before another program can use your webcam.
The complete code listing is as follows:
|
1 2 3 4 5 6 7 8 9 10 11 12 13 14 15 16 17 18 19 20 21 22 23 24 25 |
from cv2 import VideoCapture, imshow, waitKey, destroyAllWindows # Create video capture object capture = VideoCapture(0) # Check that a camera connection has been established if not capture.isOpened(): print("Error establishing connection") while capture.isOpened(): # Read an image frame ret, frame = capture.read() # If an image frame has been grabbed, display it if ret: imshow('Displaying image frames from a webcam', frame) # If the Esc key is pressed, terminate the while loop if waitKey(25) == 27: break # Release the video capture and close the display window capture.release() destroyAllWindows() |
Want to Get Started With Machine Learning with OpenCV?
Take my free email crash course now (with sample code).
Click to sign-up and also get a free PDF Ebook version of the course.
Reading and Displaying Image Frames From a Video File
It is, alternatively, possible to read image frames from a video file stored on your hard disk. OpenCV supports many video formats. For this purpose, we will modify our code to specify a path to a video file rather than an index to a camera.
I downloaded this video, renamed it to Iceland.mp4, and saved it to a local folder called Videos.
I can see from the video properties displayed on my local drive that the video comprises image frames of dimensions 1920 x 1080 pixels and that it runs at a frame rate of 25 fps.
To read the image frames of this video, we shall be modifying the following line of code as follows:
|
1 |
capture = VideoCapture('Videos/Iceland.mp4') |
It is also possible to get several properties of the capture object, such as the image frames’ width and height, as well as the frame rate:
|
1 2 3 4 5 |
from cv2 import CAP_PROP_FRAME_WIDTH, CAP_PROP_FRAME_HEIGHT, CAP_PROP_FPS frame_width = capture.get(CAP_PROP_FRAME_WIDTH) frame_height = capture.get(CAP_PROP_FRAME_HEIGHT) fps = capture.get(CAP_PROP_FPS) |
The complete code listing is as follows:
|
1 2 3 4 5 6 7 8 9 10 11 12 13 14 15 16 17 18 19 20 21 22 23 24 25 26 27 28 29 30 31 32 33 34 35 36 |
from cv2 import (VideoCapture, imshow, waitKey, destroyAllWindows, CAP_PROP_FRAME_WIDTH, CAP_PROP_FRAME_HEIGHT, CAP_PROP_FPS) # Create video capture object capture = VideoCapture('Videos/Iceland2.mp4') # Check that a camera connection has been established if not capture.isOpened(): print("Error opening video file") else: # Get video properties and print them frame_width = capture.get(CAP_PROP_FRAME_WIDTH) frame_height = capture.get(CAP_PROP_FRAME_HEIGHT) fps = capture.get(CAP_PROP_FPS) print("Image frame width: ", int(frame_width)) print("Image frame height: ", int(frame_height)) print("Frame rate: ", int(fps)) while capture.isOpened(): # Read an image frame ret, frame = capture.read() # If an image frame has been grabbed, display it if ret: imshow('Displaying image frames from video file', frame) # If the Esc key is pressed, terminate the while loop if waitKey(25) == 27: break # Release the video capture and close the display window capture.release() destroyAllWindows() |
The video has a time dimension. But in OpenCV, you are dealing with one frame at a time. This can make the video processing consistent with image processing so you can reuse the techniques from one to another.
We may include other lines of code inside the while loop to process every image frame after this has been grabbed by the capture.read() method. One example is to convert each BGR image frame into grayscale, for which we may use the same cvtColor method that we used for converting still images:
|
1 2 3 |
from cv2 import COLOR_BGR2GRAY frame = cvtColor(frame, COLOR_BGR2GRAY) |
What other transformations can you think of to apply to the image frames?
Further Reading
This section provides more resources on the topic if you want to go deeper.
Books
Websites
- OpenCV, https://opencv.org/
Summary
In this tutorial, you familiarize yourself with the most basic OpenCV operations essential when working with videos.
Specifically, you learned:
- How a digital video is formulated as a close relative of digital images.
- How the image frames comprising a video are read from a camera.
- How the image frames comprising a video are read from a saved video file.
Do you have any questions?
Ask your questions in the comments below, and I will do my best to answer.


No comments yet.