One reason people would like to use RStudio for their work is because of the R Markdown. This made the RStudio not only an IDE for programming in R, but also a notepad in which they could put down their thoughts with R code and results. In this post, you will learn how to use R Markdown. Specifically, you will learn
- What is Markdown
- How to use Markdown to create a technical document in RStudio
Let’s get started.

A Gentle Introduction to Using R Markdown
Photo by Khadeeja Yasser. Some rights reserved.
Overview
This post is divided into two parts; they are:
- Starting a New R Markdown Document
- How to Use R Markdown
Starting a New R Markdown Document
R Markdown is a file format that combines R code, Markdown text, and output into a single document. It would be helpful to produce reports to include both the code and your narrative.
R Markdown documents are just plain text files that you can edit using any text editor, including RStudio and Visual Studio Code. Usually, the R Markdown files carry the filename extension “.Rmd”. The R Markdown files can be converted into multiple formats, including HTML and PDF. You can easily do so in RStudio in a few clicks. You can also do so in the command line:
|
1 |
Rscript -e "rmarkdown::render(‘myfile.Rmd')" |
This would require your system to have installed the pandoc command line tool, as well as the “rmarkdown” package in your R system.
|
1 |
install.packages('rmarkdown') |
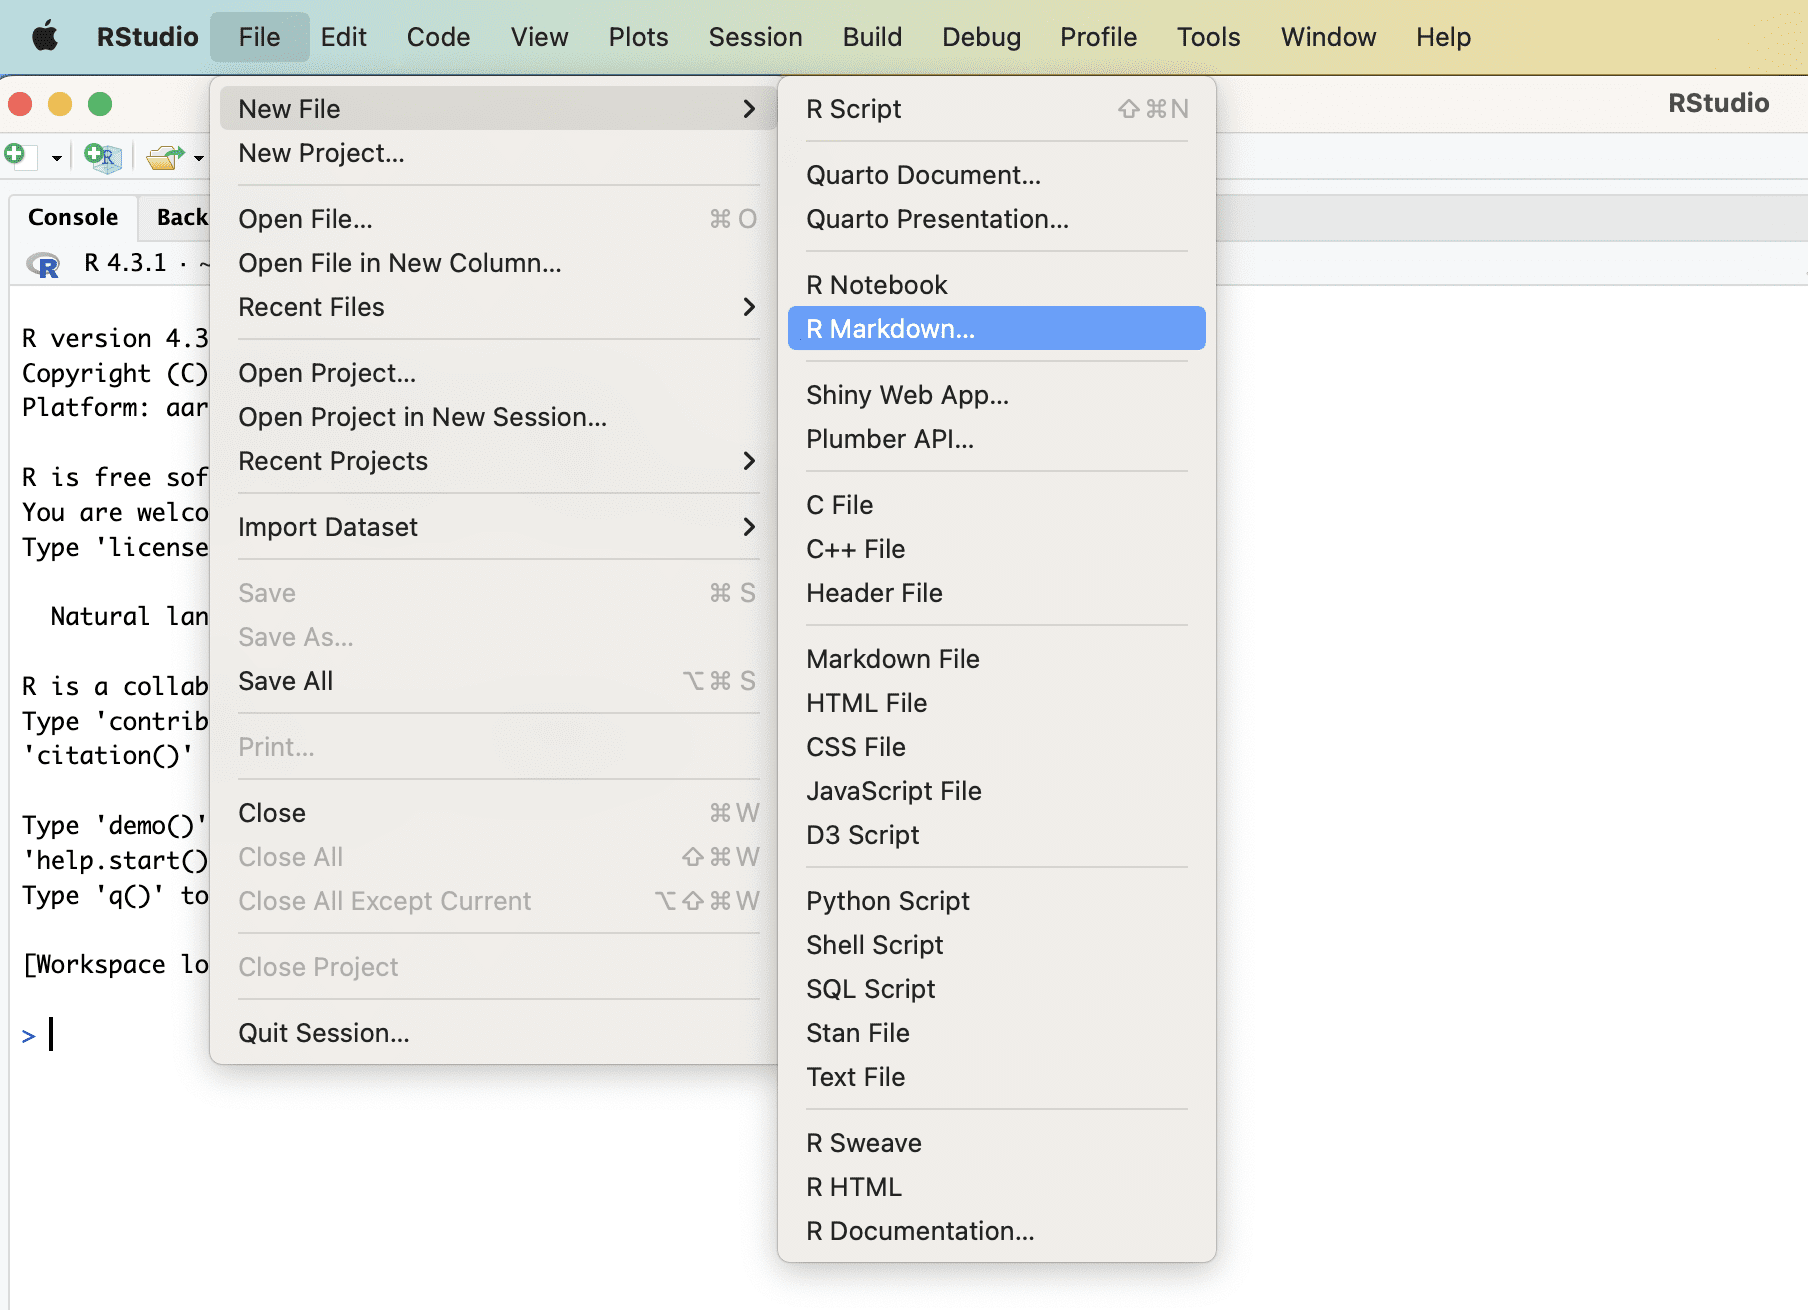
In RStudio, you can easily start a R Markdown document from its Files menu:
And RStudio will install the required packages if you haven’t installed yet. Then, you will be asked for a document title in a dialog. You may also select to use R Markdown for presentation instead of document in this dialog.

Afterward, RStudio will provide you with a template. You can start your editing from here.

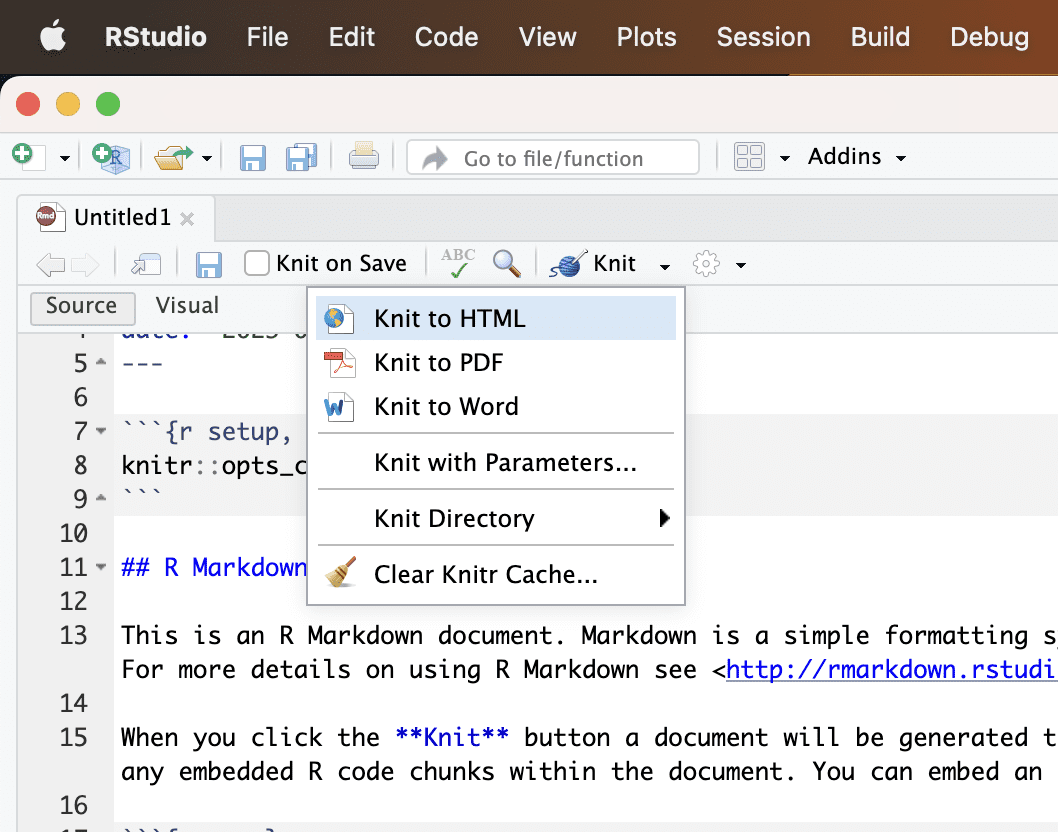
Once you finished editing your R Markdown document, you can save it as plaintext *.Rmd file. You can also export the document into HTML or PDF. RStudio called this “knit”. You can do so in the Files menu or in the toolbar, as follows:
The default template rendered into PDF would look like this:

How to Use R Markdown
Markdown is a way to introduce basic formatting in plain text. For example, you can create a heading with ## and bulleted list is marked with *. It is easy to learn and remember. It is easy to find a “Markdown cheat sheet” on the Internet. Below is an example of some common Markdown syntax:
|
1 2 3 4 5 6 7 8 9 10 11 12 13 14 15 16 17 18 19 20 21 |
# Level-1 header This is a markdown document. ## Level-2 header You can make **bold** or *italic* in text. You can also create a [link](https://machinelearningmastery.com/). New paragraph needs a blank line to separate. And you can create a bulleted list: * list item 1 * list item 2 * list item 2.1 * list item 3 or a numbered list: 1. list item 2. list item |
Markdown file can be easily converted into other format. For example, pandoc is the command line tool to convert into HTML and PDF. However, R Markdown is special because you can also include executable R code into the Markdown file, called “code chunks”.
The syntax of code chunk is as follows:
|
1 2 3 |
```{r} # r code here ``` |
The code chunks are evaluated when you knit your R Markdown document. In the knitted document, you will see both the R source code as well as the evaluated output included. If you wanted only the output but not the code that created it, you add the echo=FALSE parameter, as follows:
|
1 2 3 |
```{r, echo=FALSE} # r code here ``` |
You can use code chunks to create tables, charts, and other visualizations, as well as to perform statistical analyses. You can use print() function to create output. But R is smart enough that simply returning a R data structure is sufficient to be included in the knitted document. Below are two examples from the template from RStudio:
|
1 2 3 4 5 6 7 |
```{r cars, echo = TRUE} summary(cars) ``` ```{r pressure} plot(pressure) ``` |
Which summary() returns a table and plot() creates a graph. R Markdown can show both in the knitted document correctly. Or you can also see the result immediately on RStudio by clicking on the little arrow pointing to the right, which means to run this particular code chunk. You should see the result inserted beneath the code chunk after it is ran:

Result will be displayed beneath the code chunk in RStudio
R Markdown is a powerful tool that can be used to create a variety of documents. You can create a presentation, a report, or even a book with it. Since it allows you to put your code and your narratives side by side, it is a versatile tool for communicating your work to others.
Further Readings
Below are some resources to help you learn more:
Cheat sheets:
Online Tutorial
- R Markdown from RStudio: https://rmarkdown.rstudio.com/lesson-1.html
Books
- R Markdown: The Definitive Guide by Yihui Xie, J. J. Allaire, Garrett Grolemund
Summary
In this post, you learned how to use R Markdown. Specifically, you learned:
- R Markdown is a document type that you can easily edit using RStudio
- R Markdown allows you to combine your R code, its output, and your narrative text together in one document


No comments yet.