Weka is an easy to use and powerful machine learning platform.
It provides a large number of machine learning algorithms, feature selection methods and data preparation filters.
In this post you will discover the Weka machine learning workbench and take a tour of the key interfaces that you can use on your machine learning projects.
After reading this post you will know about:
- The interfaces supported by the Weka machine learning workbench.
- Those interfaces that are recommended from beginners to work through their problems, and those that are not.
- How to at least click through each key interface you will need in Weka and generate a result.
Kick-start your project with my new book Machine Learning Mastery With Weka, including step-by-step tutorials and clear screenshots for all examples.
Let’s get started.
Weka GUI Chooser
The entry point into the Weka interface is the Weka GUI Chooser.
It is an interface that lets you choose and launch a specific Weka environment.
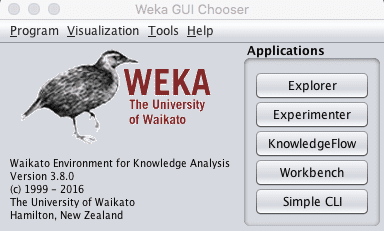
Screenshot of the Weka GUI Chooser
In addition to providing access to the core Weka tools, it also has a number of additional utilities and tools provided in the menu.
There two important utilities to note in the “Tools” menu:
1. The Package Manager which lets you browse and install third party add-ons to Weka such as new algorithms.
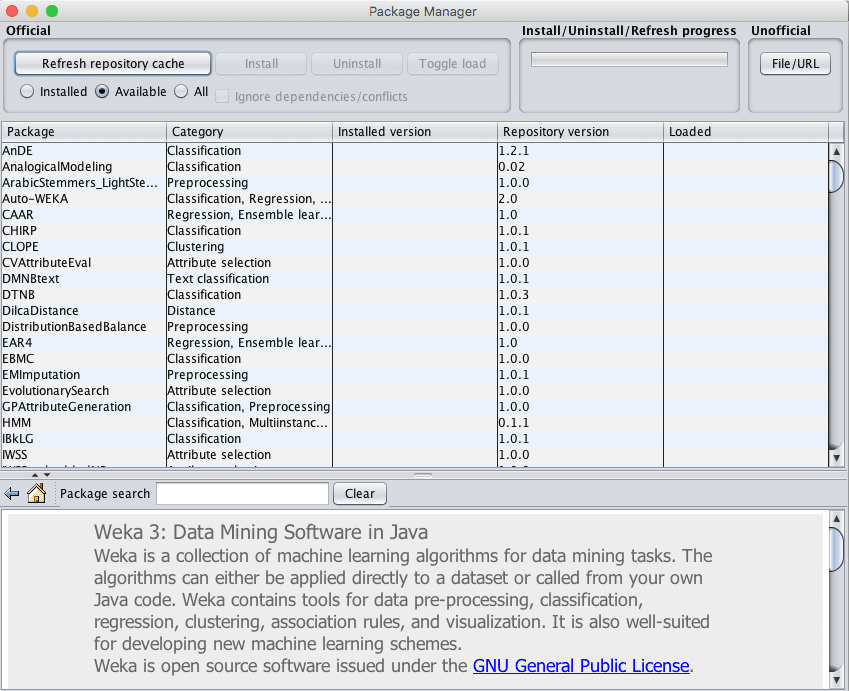
Screenshot of the Weka Package Manager
2. The ARFF-Viewer that allows you to load and transform datasets and save them in ARFF format.

Screenshot of the Weka ARFF-Viewer
Need more help with Weka for Machine Learning?
Take my free 14-day email course and discover how to use the platform step-by-step.
Click to sign-up and also get a free PDF Ebook version of the course.
Weka Explorer
The Weka Explorer is designed to investigate your machine learning dataset.
It is useful when you are thinking about different data transforms and modeling algorithms that you could investigate with a controlled experiment later. It is excellent for getting ideas and playing what-if scenarios.
The interface is divided into 6 tabs, each with a specific function:
The preprocess tab is for loading your dataset and applying filters to transform the data into a form that better exposes the structure of the problem to the modeling processes. Also provides some summary statistics about loaded data.
Load a standard dataset in the data/ directory of your Weka installation, specifically data/breast-cancer.arff. This is a binary classification problem that we will use on this tour.
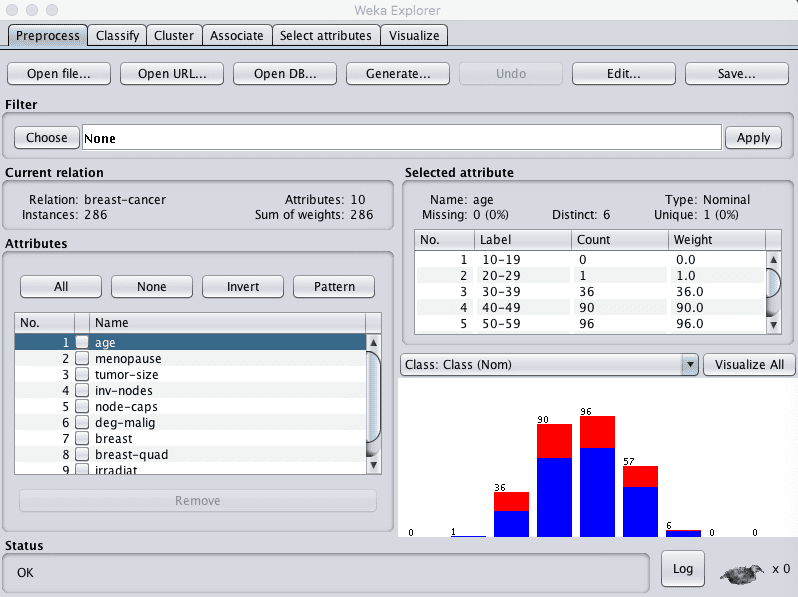
Screenshot of the Weka Explorer Preprocess Tab
The classify tab is for training and evaluating the performance of different machine learning algorithms on your classification or regression problem. Algorithms are divided up into groups, results are kept in a result list and summarized in the main Classifier output.
Click the “Start” button to run the ZeroR classifier on the dataset and summarize the results.

Screenshot of the Weka Explorer Classify Tab
The cluster tab is for training and evaluating the performance of different unsupervised clustering algorithms on your unlabeled dataset. Like the Classify tab, algorithms are divided into groups, results are kept in a result list and summarized in the main Clusterer output.
Click the “Start” button to run the EM clustering algorithm on the dataset and summarize the results.
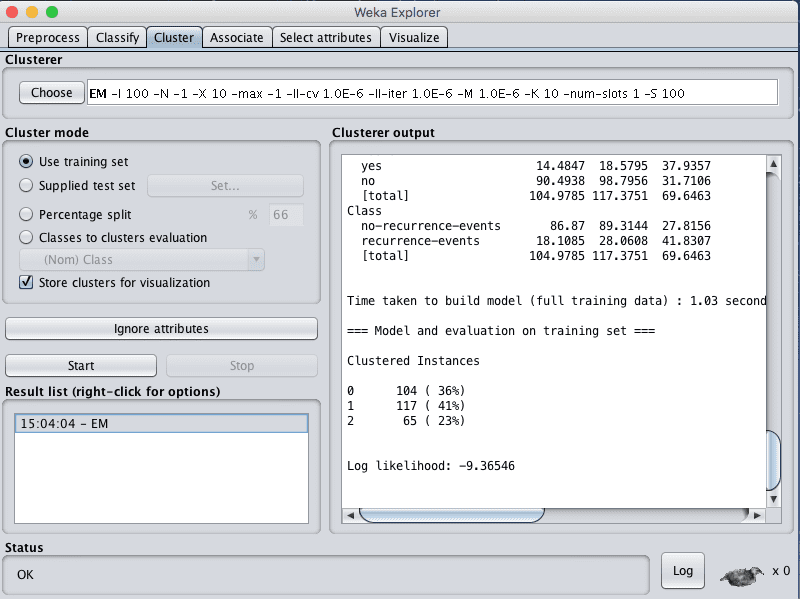
Screenshot of the Weka Explorer Cluster Tab
The associate tab is for automatically finding associations in a dataset. The techniques are often used for market basket analysis type data mining problems and require data where all attributes are categorical.
Click the “Start” button to run the Apriori association algorithm on the dataset and summarize the results.
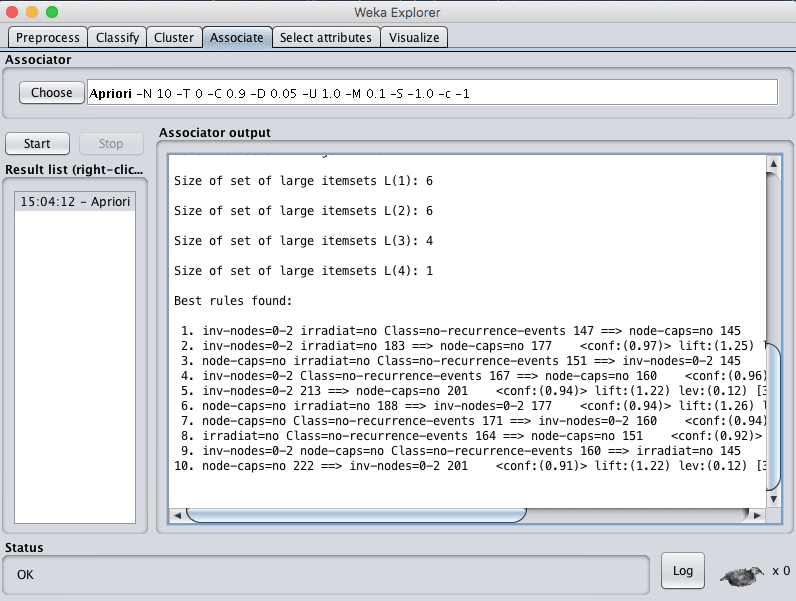
Screenshot of the Weka Explorer Associate Tab
The select attributes tab is for performing feature selection on the loaded dataset and identifying those features that are most likely to be relevant in developing a predictive model.
Click the “Start” button to run the CfsSubsetEval algorithm with a BestFirst search on the dataset and summarize the results.
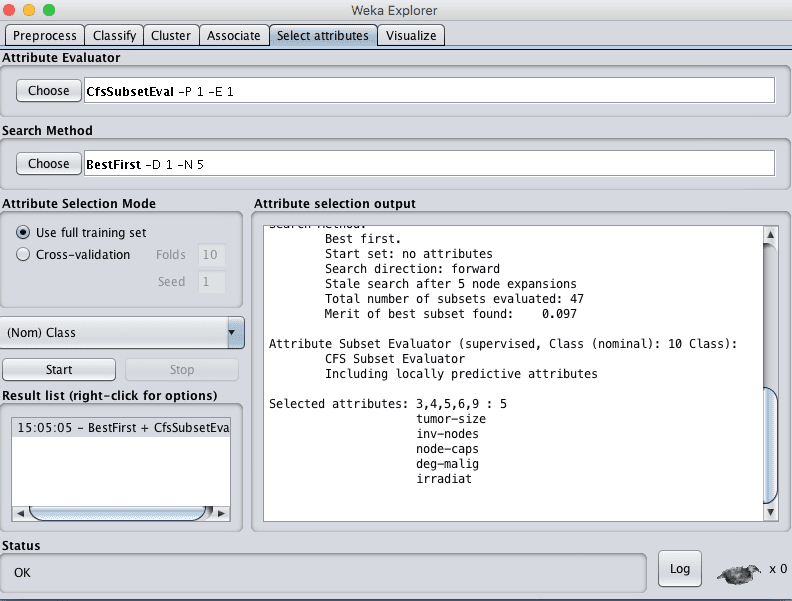
Screenshot of the Weka Explorer Select Attributes Tab
The visualize tab is for reviewing pairwise scatterplot matrix of each attribute plotted against every other attribute in the loaded dataset. It is useful to get an idea of the shape and relationship of attributes that may aid in data filtering, transformation and modeling.
Increase the point size and the jitter and click the “Update” button to set an improved plot of the categorical attributes of the loaded dataset.
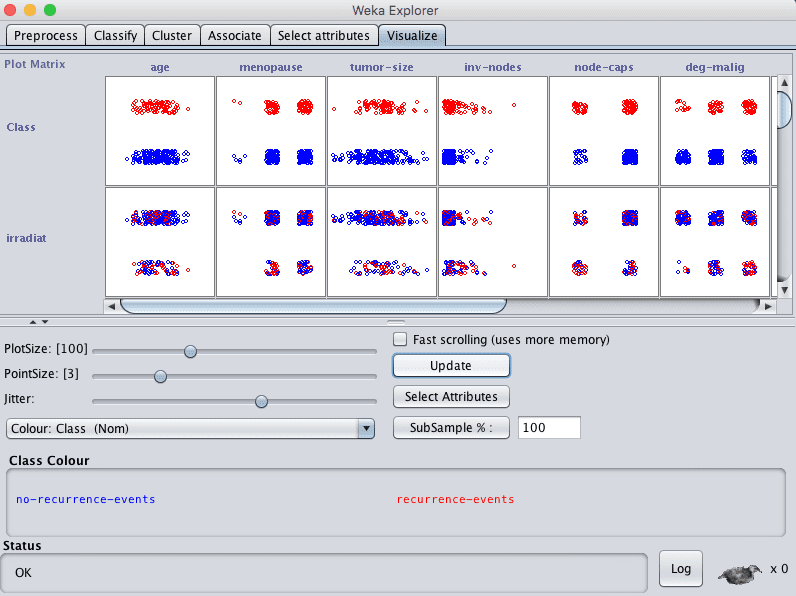
Weka Explorer Visualize Tab
Weka Experiment Environment
The Weka Experiment Environment is for designing controlled experiments, running them, then analyzing the results collected.
It is the next step after using the Weka Explorer, where you can load up one or more views of your dataset and a suite of algorithms and design an experiment to find the combination that results in the best performance.
The interface is split into 3 tabs.
The setup tab is for designing an experiment. This includes the file where results are written, the test setup in terms of how algorithms are evaluated, the datasets to model and the algorithms to model them. The specifics of an experiment can be saved for later use and modification.
- Click the “New” button to create a new Experiment.
- Click the “Add New…” button in the Datasets pane and select the data/diabetes.arff dataset.
- Click the “Add New…” button in the “Algorithms” pane and click “OK” to add the ZeroR algorithm.
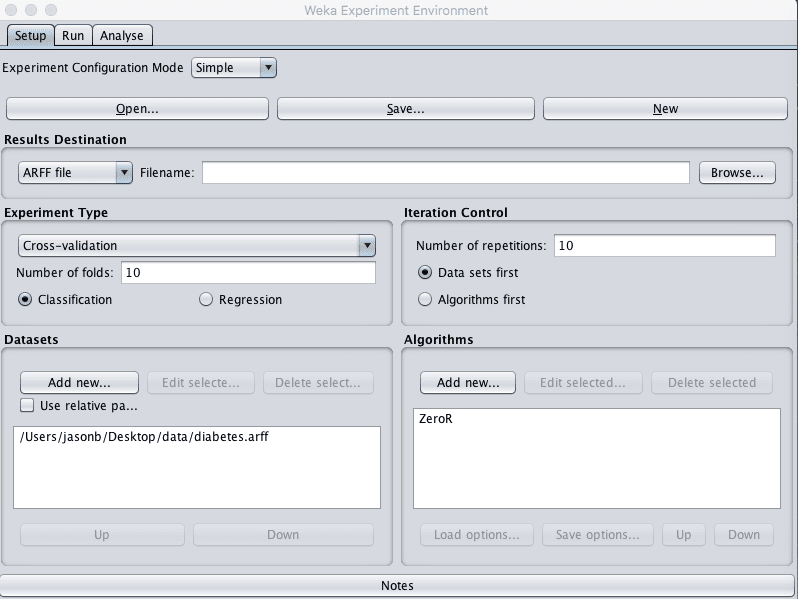
Screenshot of the Weka Experiment Environment Setup Tab
The run tab is for running your designed experiments. Experiments can be started and stopped. There is not a lot to it.
Click the “Start” button to run the small experiment you designed.
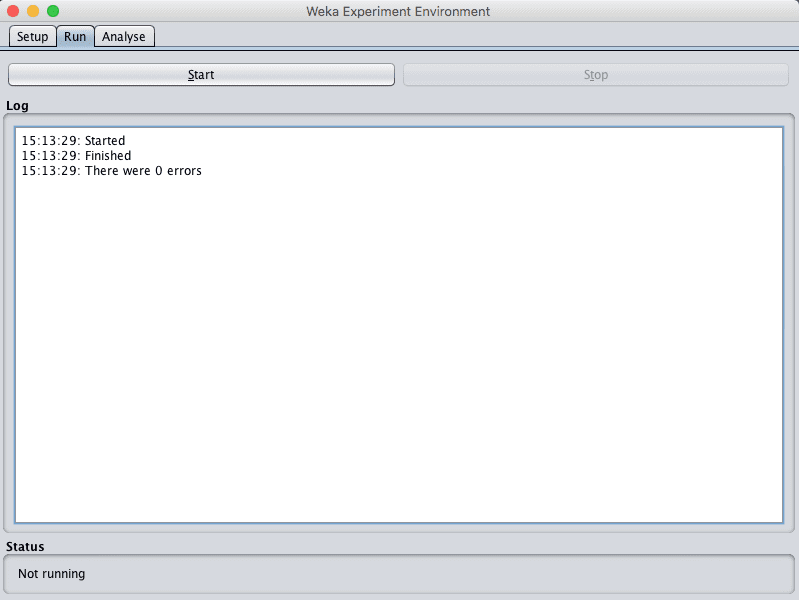
Screenshot of the Weka Experiment Environment Run Tab
The analyze tab is for analyzing the results collected from an experiment. Results can be loaded from a file, from the database or from an experiment just completed in the tool. A number of performance measures are collected from a given experiment which can be compared between algorithms using tools like statistical significance.
- Click the “Experiment” button the “Source” pane to load the results from the experiment you just ran.
- Click the “Perform Test” button to summary the classification accuracy results for the single algorithm in the experiment.
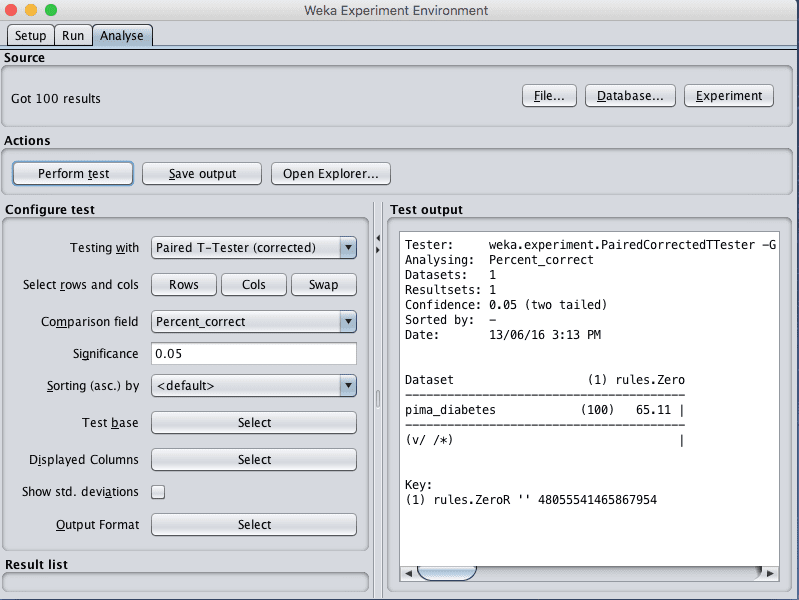
Screenshot of the Weka Experiment Environment Analyse Tab
Weka KnowledgeFlow Environment
The Weka KnowledgeFlow Environment is a graphical workflow tool for designing a machine learning pipeline from data source to results summary, and much more. Once designed, the pipeline can be executed and evaluated within the tool.
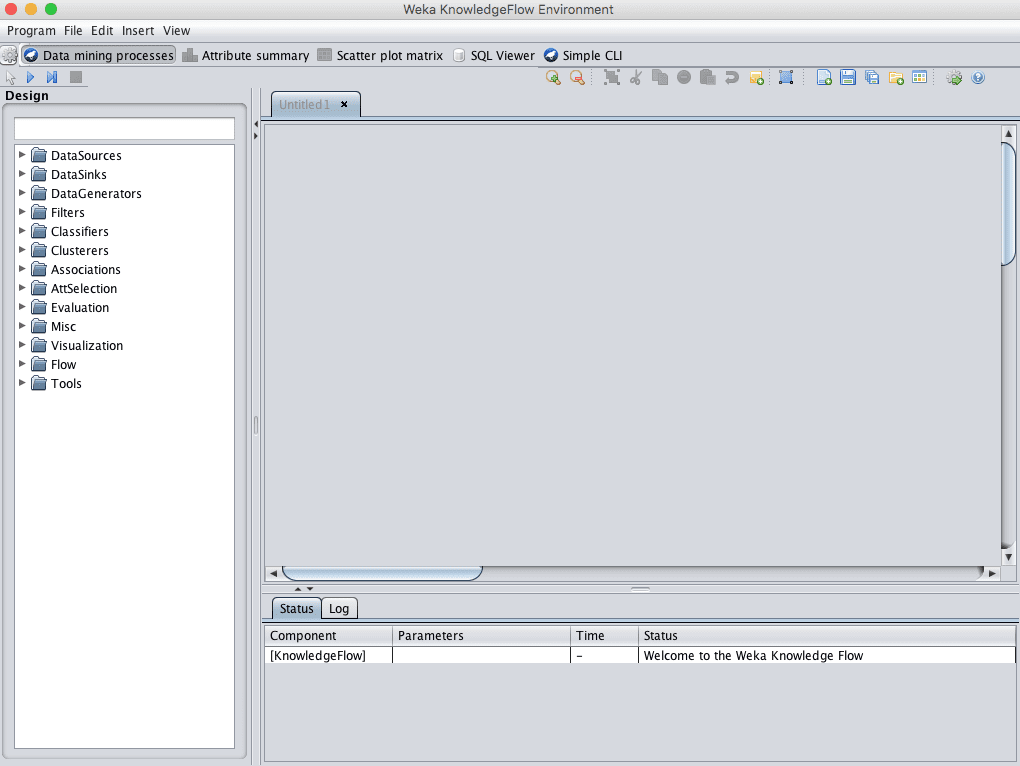
Screenshot of the Weka KnowledgeFlow Environment
The KnowledgeFlow Environment is a powerful tool that I do not recommend for beginners until after they have mastered use of the Weka Explorer and Weka Experiment Environment.
Weka Workbench
The Weka Workbench is an environment that combines all of the GUI interfaces into a single interface.
It is useful if you find yourself jumping a lot between two or more different interfaces, such as between the Explorer and the Experiment Environment. This can happen if you try out a lot of what if’s in the Explorer and quickly take what you learn and put it into controlled experiments.
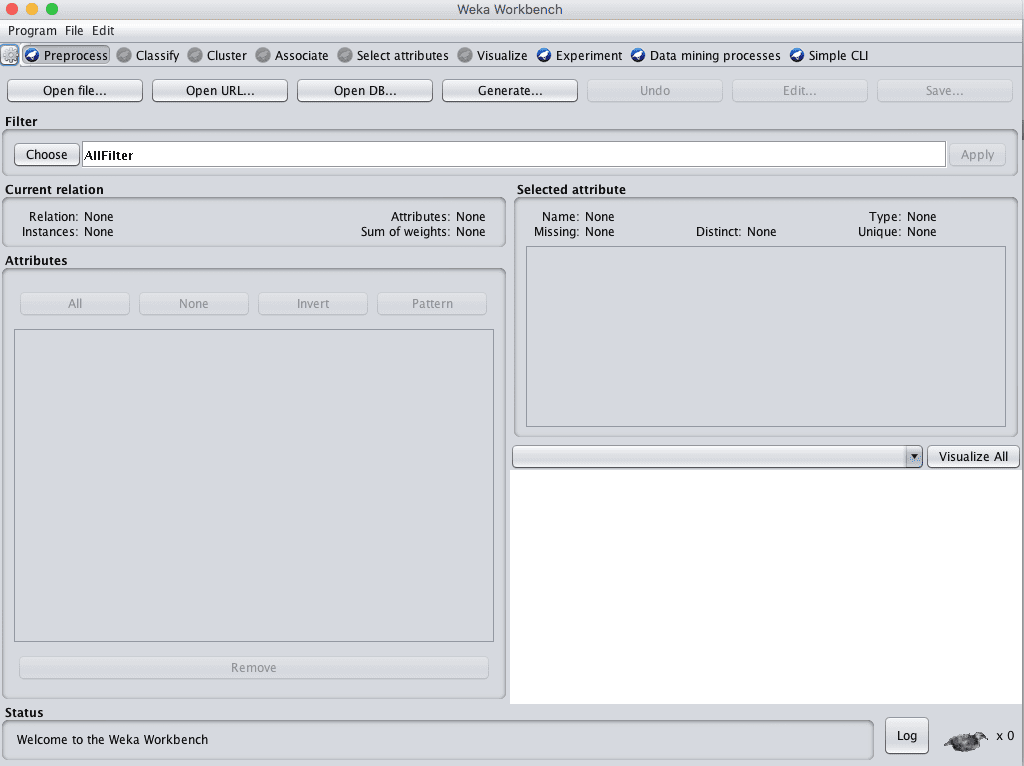
Screenshot of the Weka Workbench
Weka SimpleCLI
Weka can be used from a simple Command Line Interface (CLI).
This is powerful because you can write shell scripts to use the full API from command line calls with parameters, allowing you to build models, run experiments and make predictions without a graphical user interface.
The SimpleCLI provides an environment where you can quickly and easily experiment with the Weka command line interface commands.

Screenshot of the Weka SimpleCLI
Like the Weka KnowledgeFlow Environment, this is a powerful tool that I do not recommend for beginners until they have mastered use of the Weka Explorer and Weka Experiment Environment.
Weka Java API
Weka can also be used from the Java API.
This is for Java programmers and can be useful when you want to incorporate learning or prediction into your own applications.
This is an advanced feature that I do not recommend for beginners until they have mastered use of the Weka Explorer and Weka Experiment Environment.
Summary
In this post you discovered the Weka Machine Learning Workbench. You went on a tour of the key interfaces that you can use to explore and develop predictive machine learning models on your own problems.
Specifically, you learned about:
- The Weka Explorer for data preparation, feature selection and evaluating algorithms.
- The Weka Experiment Environment for designing, running and analyzing the results from controlled experiments.
- The Weka KnowledgeFlow Environment for graphically designing and executing machine learning pipelines.
- The Weka Workbench that incorporates all of the Weka tools into a single convenient interface.
- The Weka SimpleCLI for using the Weka API from the command line.
- The Weka Java API that can be used to incorporate learning and prediction into your own applications.
Do you have any questions about the Weka machine learning workbench or about this post? Ask your questions in the comments below and I will do my best to answer them.
Discover Machine Learning Without The Code!
Develop Your Own Models in Minutes
...with just a few a few clicks
Discover how in my new Ebook:
Machine Learning Mastery With Weka
Covers self-study tutorials and end-to-end projects like:
Loading data, visualization, build models, tuning, and much more...
Finally Bring The Machine Learning To Your Own Projects
Skip the Academics. Just Results.


Nice.
I must admit i had never even heard of Weka until i came across your blog. Even a very experienced data scientist contractor i am working with didn’t even raise an eyelid when i mentioned i was going to draft through an upcoming project using it, I’m choosing to assume he’s not familiar with it either.
Had a bumpy ride getting it set up but I’ve cleared my schedule to really knuckle down with it tomorrow. Can’t wait!
Nice work Jon.
It’s a fantastic platform for small one off projects and for exploring a problem without code.
What a wonderful overview, it’s my first time too to hear about this awesome platform. Looking forward to getting the best out of it.
Thank you
Thanks, I hope it helps.
This is my first time hears about WEKA tool. I really need this platform to solve my project topic. Knowledge discovery from medical records using data mining techniques
Thank you for the feedback Alausa!
Dear Jason,
I am beginner for Weka and very interested in time series forecast. Can you advise me how to use Weka’s time series forecast function to predict multiple attributes’ values for future time points at the same time?
Do you have to train and forecast one attribute by one attribute?
if attributes are intrinsically linked, does “one by one” method product false forecast?
Thank you for your insights!
Hi Sam…You may find the following of interest:
https://www.youtube.com/watch?v=vgRzyvuxeds
Jason
I hav gone through the tour and appreciate all. My CLI could not show where the cursor is.