In all cases, generating pictures using Stable Diffusion would involve submitting a prompt to the pipeline. This is only one of the parameters, but the most important one. An incomplete or poorly constructed prompt would make the resulting image not as you would expect. In this post, you will learn some key techniques to construct a prompt and see how much a good prompt can create a good image.
Kick-start your project with my book Mastering Digital Art with Stable Diffusion. It provides self-study tutorials with working code.
Let’s get started.
Prompting Techniques for Stable Diffusion
Photo by Sangga Rima Roman Selia. Some rights reserved.
Overview
This post is in three parts; they are:
- Parameters Affecting the Output
- Characteristics of an Effective Prompt
- Emphasizing Keywords
Parameters Affecting the Output
Several parameters affect the output in Stable Diffusion. The model has a vast impact on the style of the drawing. The sampler and step count matters for the quality of the generation. But the prompt guides the content in the output.
The base Stable Diffusion models are generic for multiple uses. But some models are specifically trained for a particular style. For example, the “Anything” model will easily produce pictures in the style of Japanese anime, while “Realistic Vision” model gives photorealistic output. You can download these models from Hugging Face Hub or from Civitai (recommended):
- Anything: https://civitai.com/models/9409, https://huggingface.co/stablediffusionapi/anything-v5
- Realistic Vision: https://civitai.com/models/4201, https://huggingface.co/SG161222/Realistic_Vision_V6.0_B1_noVAE
The models downloaded should be saved to the models/Stable-diffusion folder in your WebUI installation. When you download a model, besides the version of the model itself, note also the base model versions. The most common are SD 1.5 and SDXL 1.0. Using a different base model may cause compatibility issues with other parts of the pipeline, including how the prompts are understood.
In theory, the diffusion model requires hundreds of steps to generate an image. But the diffusion model is, in fact, a mathematical model that can be written as a differential equation; there are ways to solve the equation approximately. The sampler and the step count control how the approximate solution will be found. Generally speaking, the more steps you use, the more accurate the result is. However, the effect of step count depends on the sampler chosen. As a ballpark, most samplers should use around 20 to 40 steps for the best balance between quality and speed.
The prompt affects the output for a trivial reason. In every step, the U-net in Stable Diffusion will use the prompt to guide the refinement of noise into a picture. Different models understood the prompt differently, just as humans understand a word with different preconceptions. However, a general rule is that you should write the prompt in such a way that limits the room for reinterpretation. Let’s look into this with some examples.
Characteristics of an Effective Prompt
A prompt should be specific and explicit in what needs to be in the picture. Having a list of keywords handy makes prompting a piece of cake. Let’s understand the different categories of keywords, and then we will look into examples in each category.
Subject or Object
The core of a prompt lies in describing the details of the expected image. Therefore, it is important to imagine it first. Let’s understand this using a prompt example.
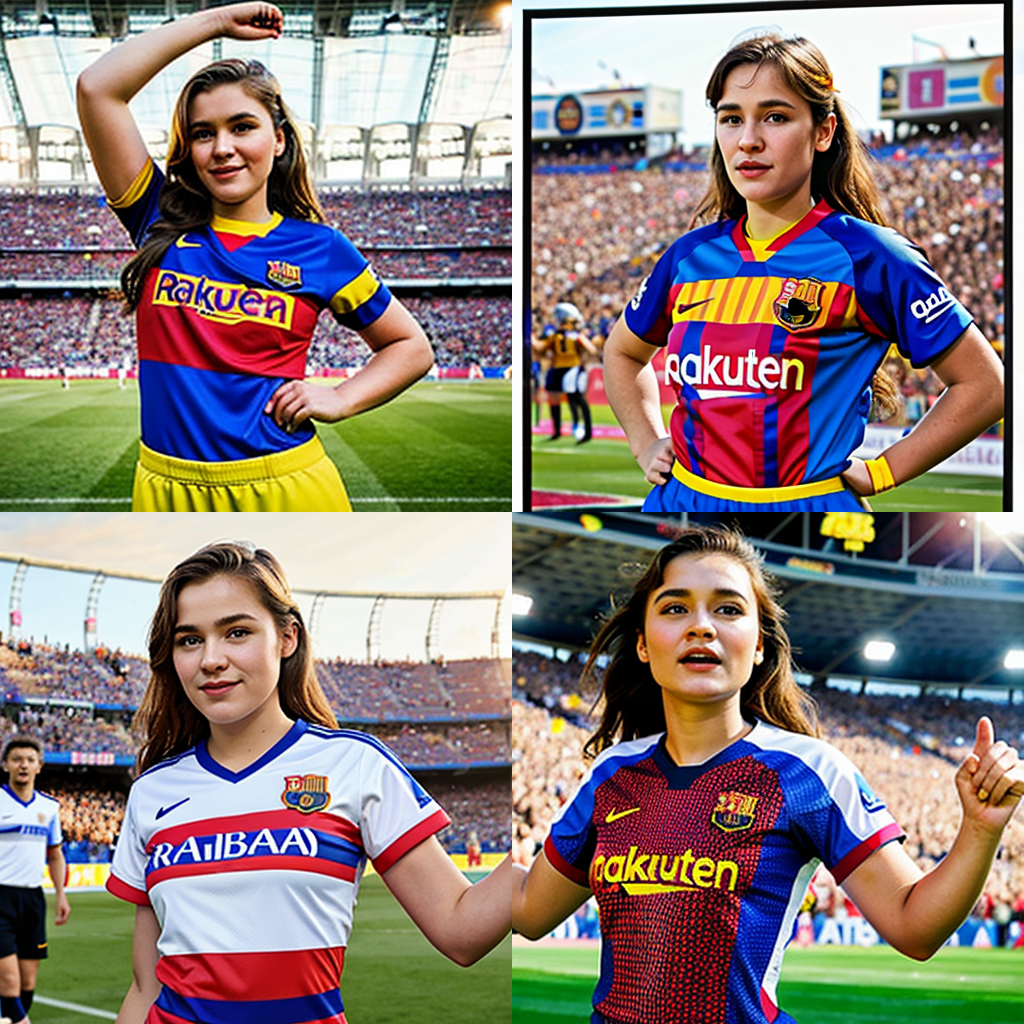
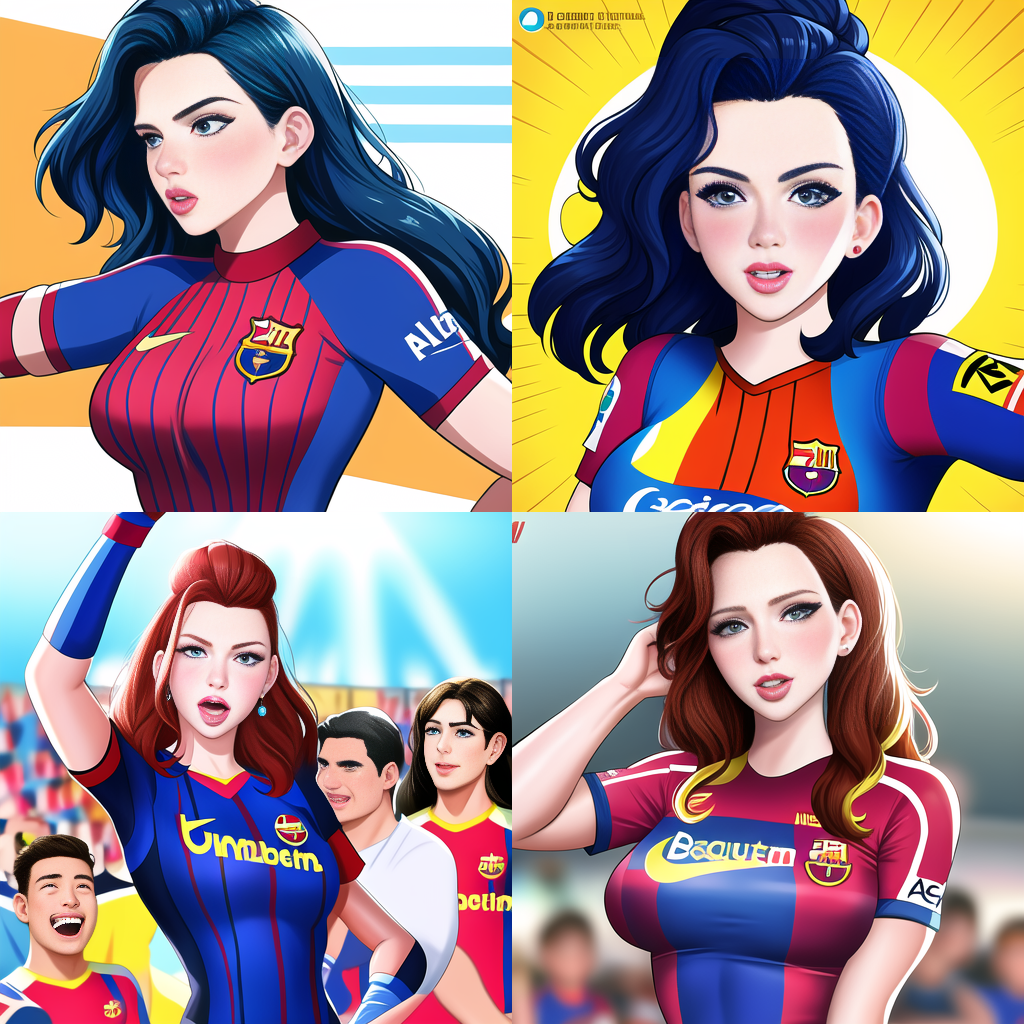
A young woman with an FC Barcelona jersey celebrating a goal with football players and a crowd in the background.
The various settings picked for generating the image are given below:
- Model: Realistic Vision V6.0 B1 (VAE)
- Sampling method: DPM++ 2M Keras
- Sampling steps: 20
- CFG Scale: 7
- Width × Height: 512 × 512
- A negative prompt: Will explain in subsequent sections
- Batch size and count: 1
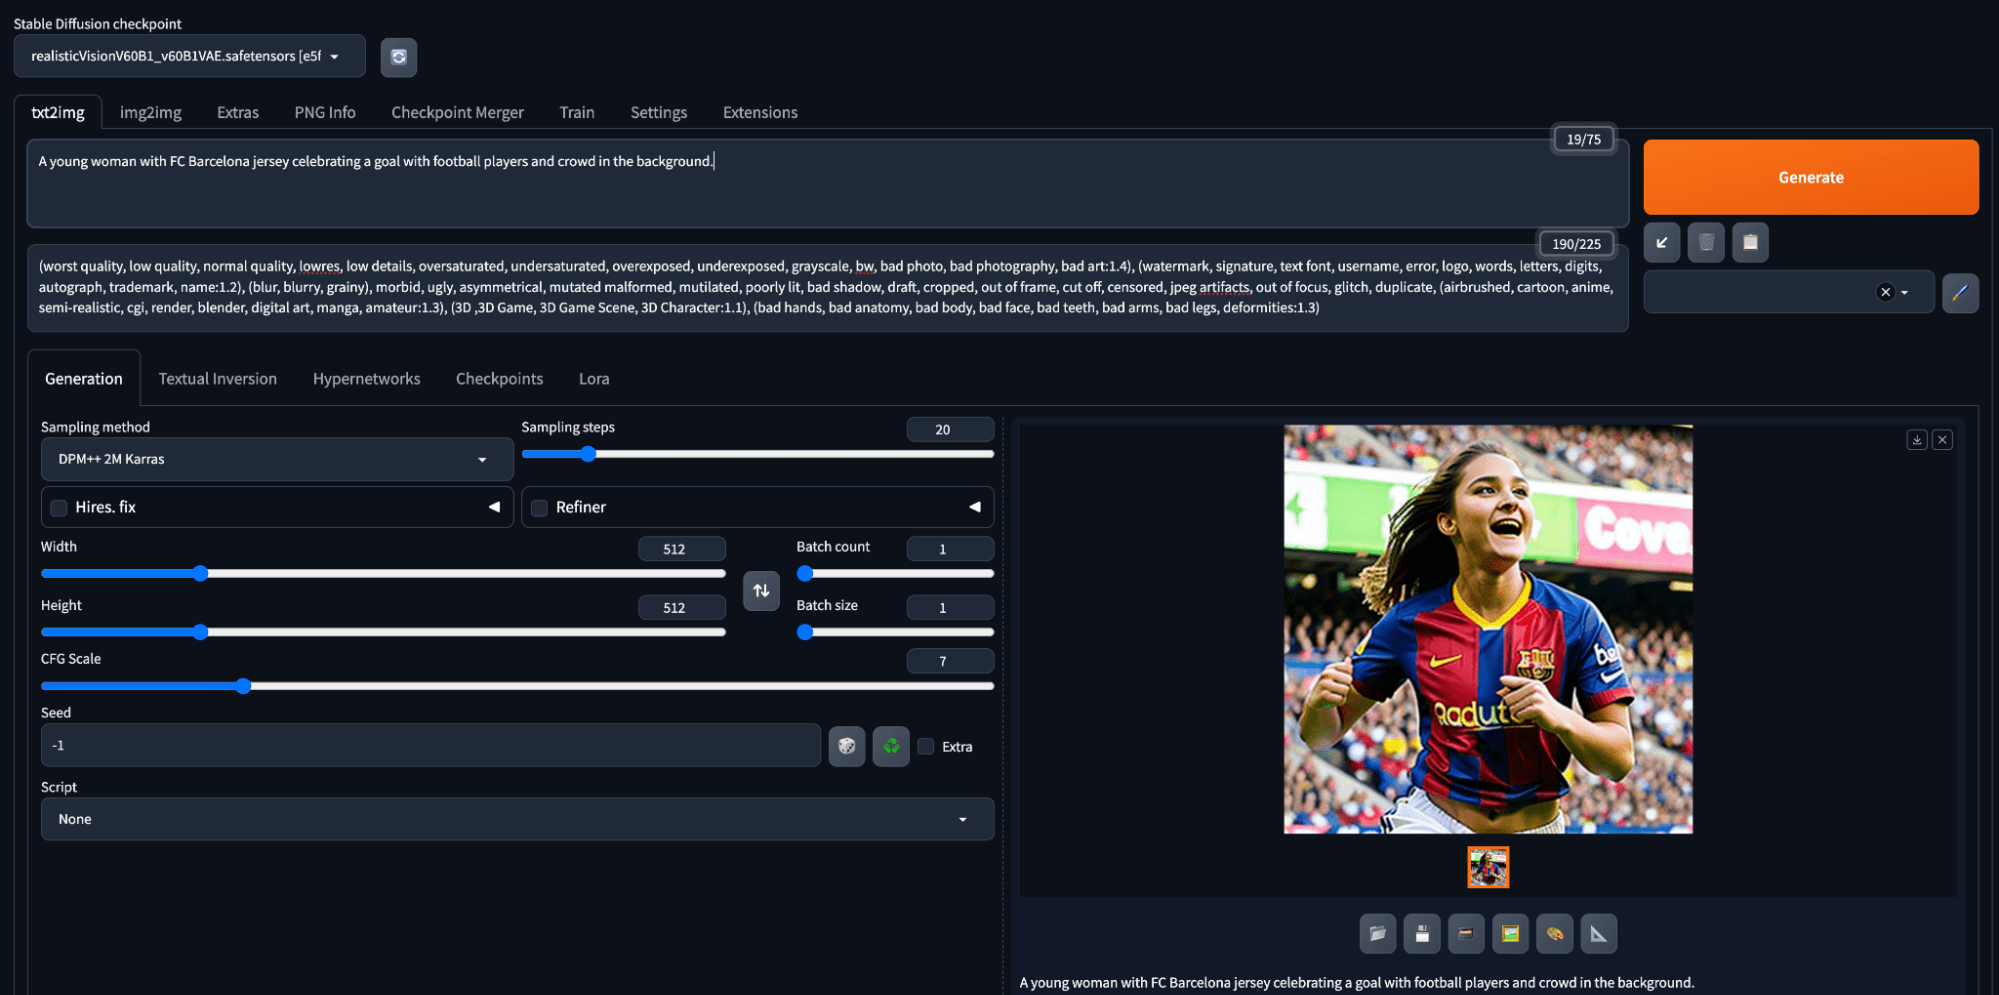
Generating an image in Stable Diffusion using a prompt
Not bad for a first attempt.
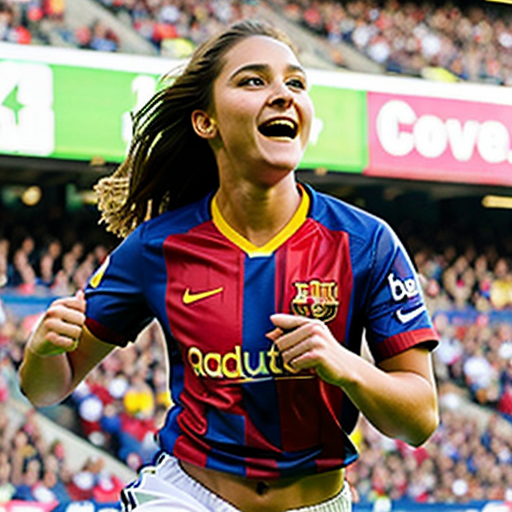
Generation using a simple prompt
Let’s enhance this further.
Note: Image generation is a random process. Hence you may see a vastly different output. In fact, unless you fixed the random seed, the image you generate each time with the same prompt and parameters will be different.
Medium
How is the image created? Adding the medium of image creation makes the prompt even more specific. Whether the image is a photograph, a digital painting, a 3D rendering, or an oil painting is called the medium.
We can also add adjectives to it such as:
- Ultra-realistic photograph
- Portrait digital painting
- Concept art
- Underwater oil painting
Let us add a medium to our prompt:
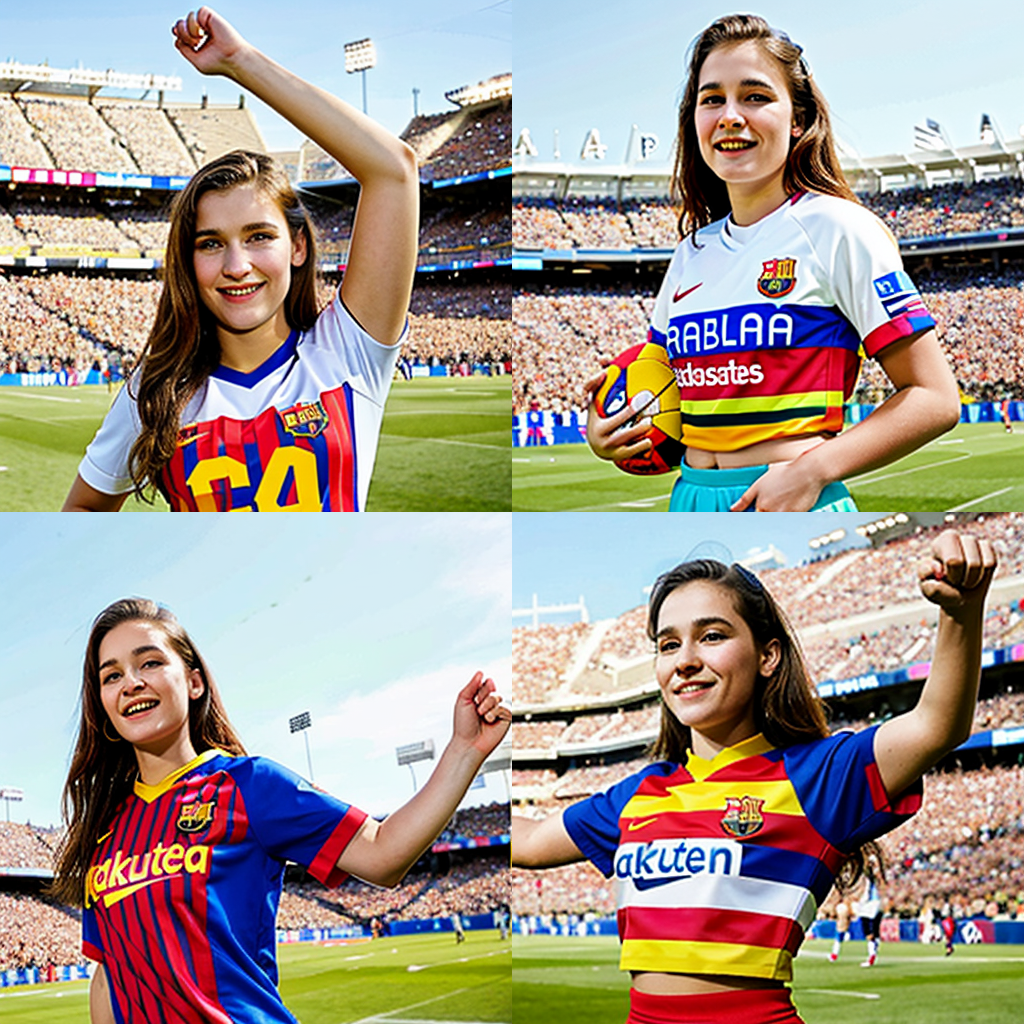
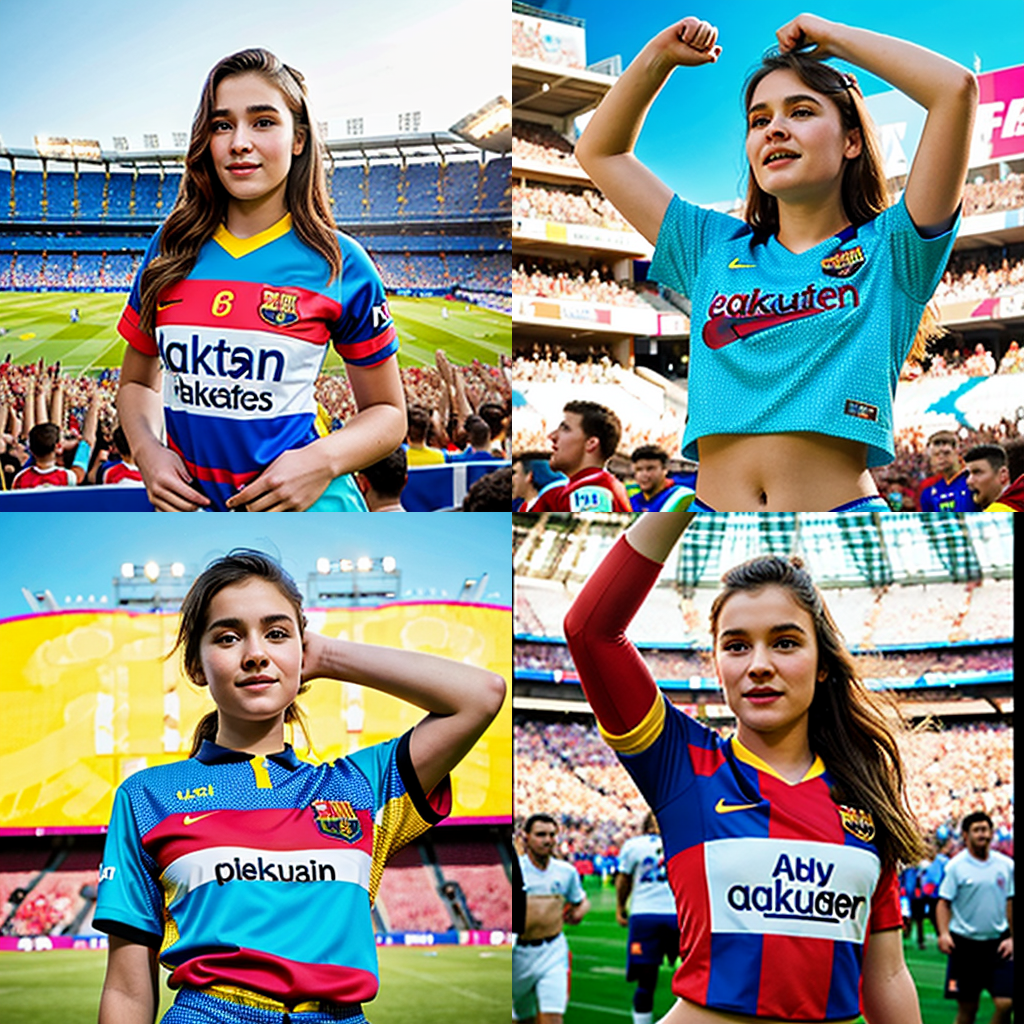
Ultra-realistic photography of a young woman with an FC Barcelona jersey celebrating a goal with football players and a crowd in the background.
Below are the results.
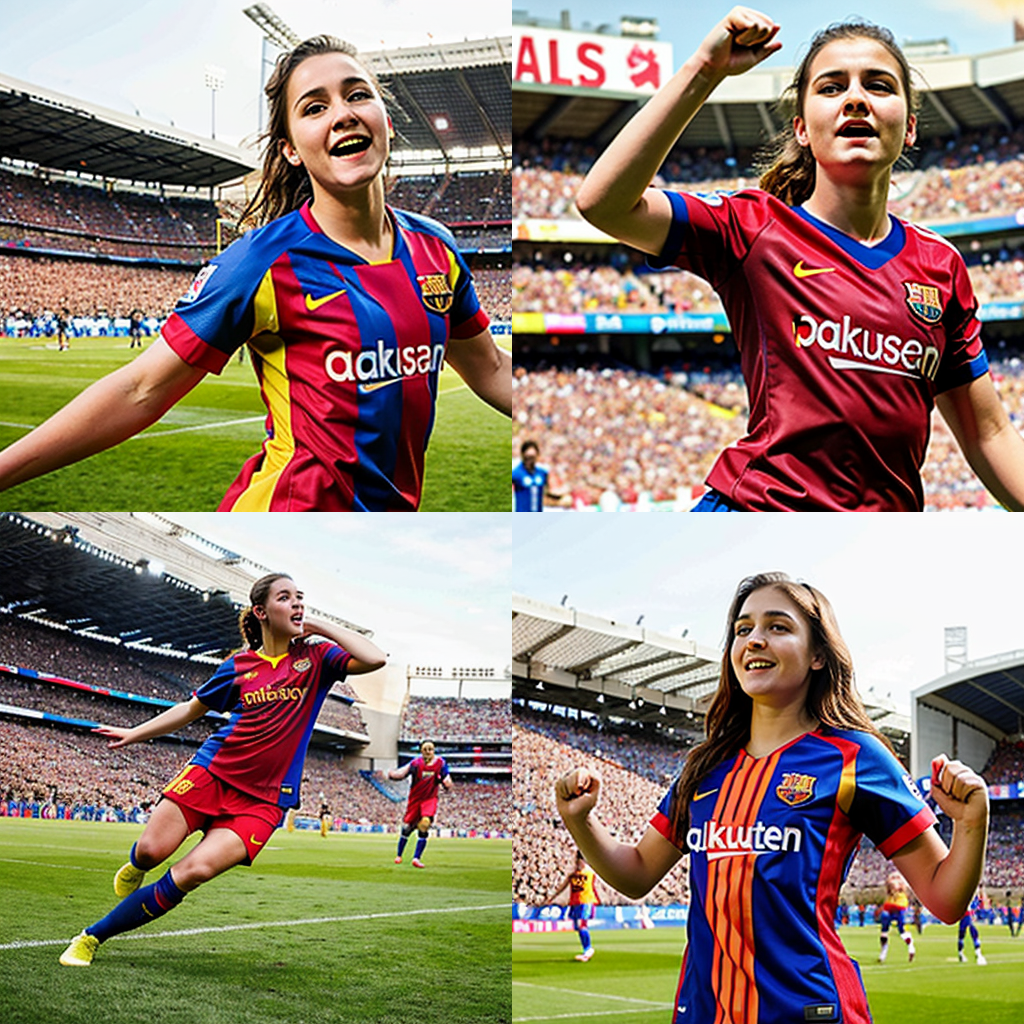
Prompt with photography medium
Not much difference because the model used assumes a realistic, photography-like output by default. The difference will be more pronounced if a different model has been used.
Artistic Style
Keywords such as modernist, impressionist, pop art, surrealist, art nouveau, hyperrealistic, and so on add an artistic angle to the image. Let’s understand this by modifying our prompt.
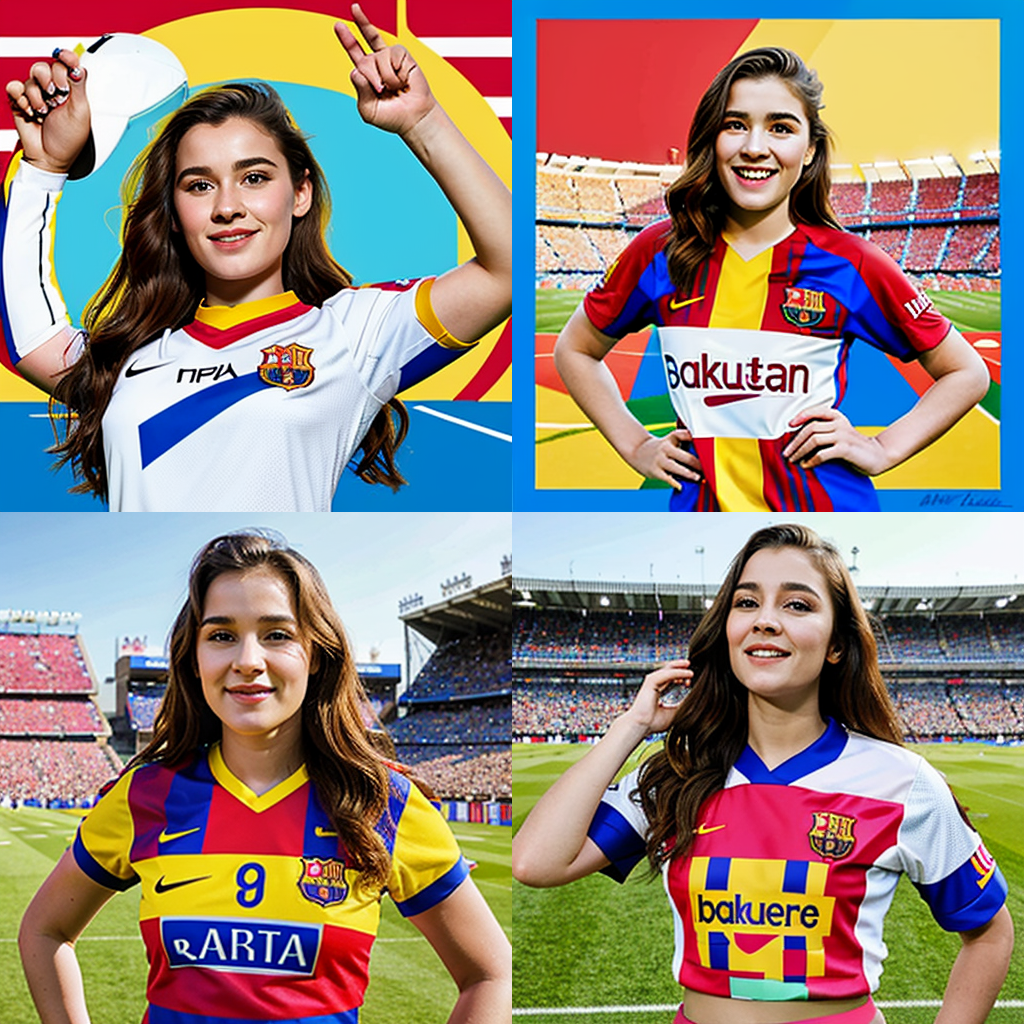
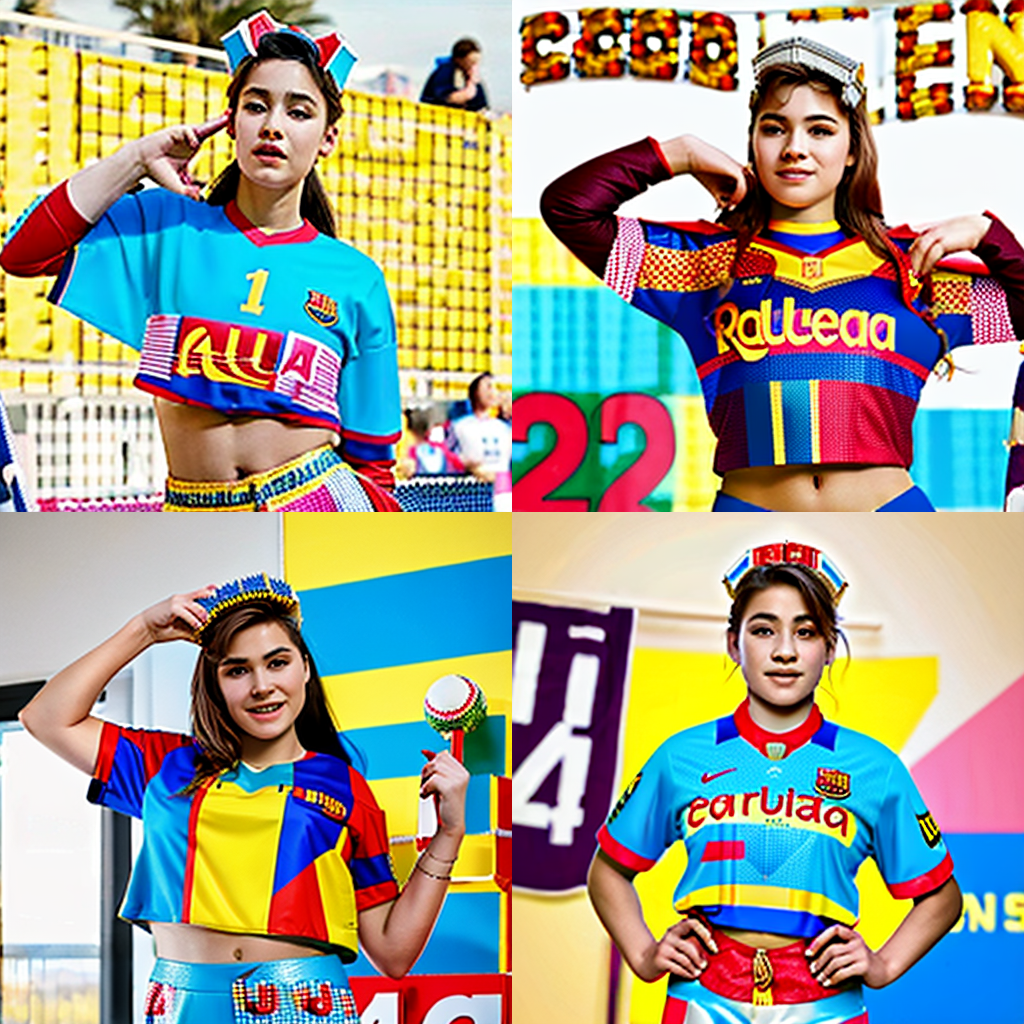
A pop art ultra-realistic portrait of a young woman with an FC Barcelona jersey celebrating a goal with football players and a crowd in the background.
Below are the results:
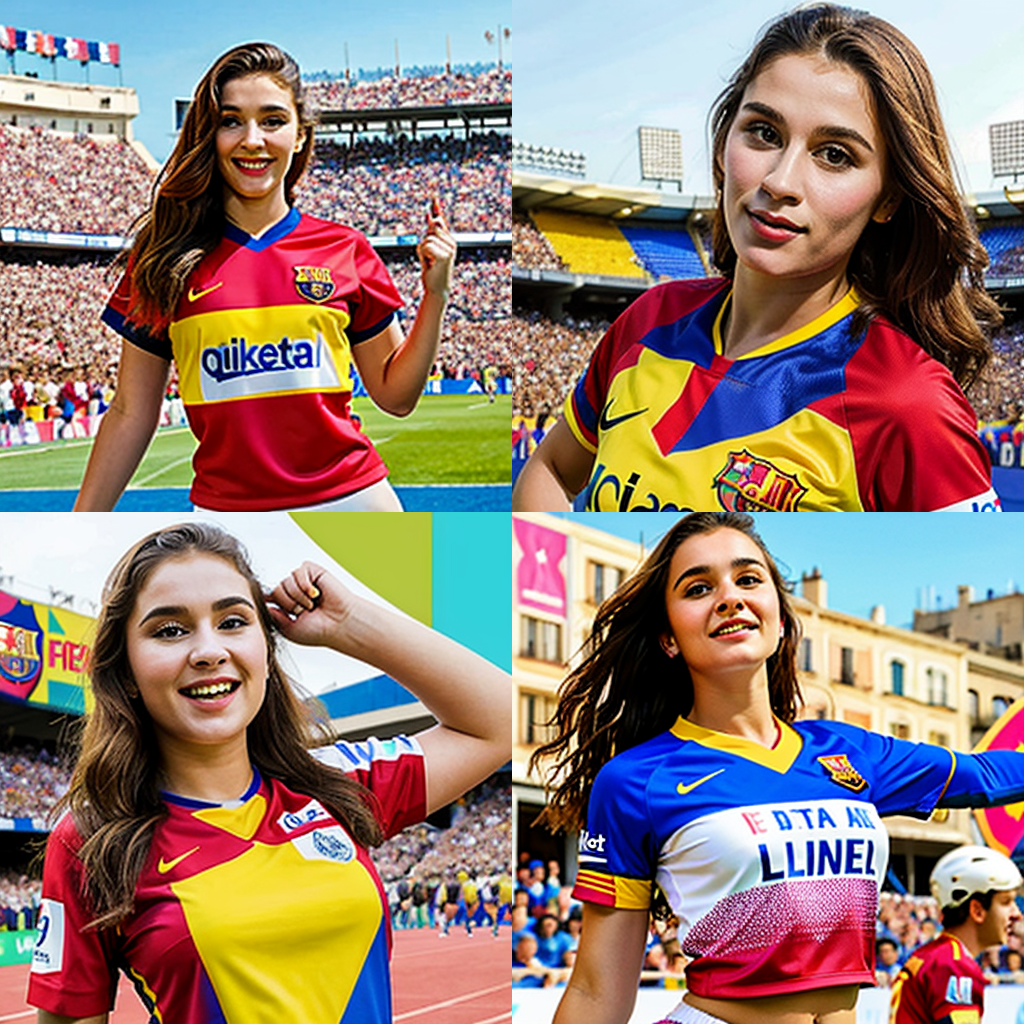
Image generated with artistic style in the prompt
Limited by the model to keep it photograph-like, but the pop art style makes the output use more primary colors (red, yellow, blue) and the color change in the face is more abrupt.
Famous Artist Names
Adding artist names picks the style of the artist. Multiple artist names can be mentioned to combine their styles. Let’s add the two artists’ names as Stanley Artgerm Lau, a superhero comic artist, and Agnes Martin, a Canadian-American abstract painter. A good reference for artist names can be found here.
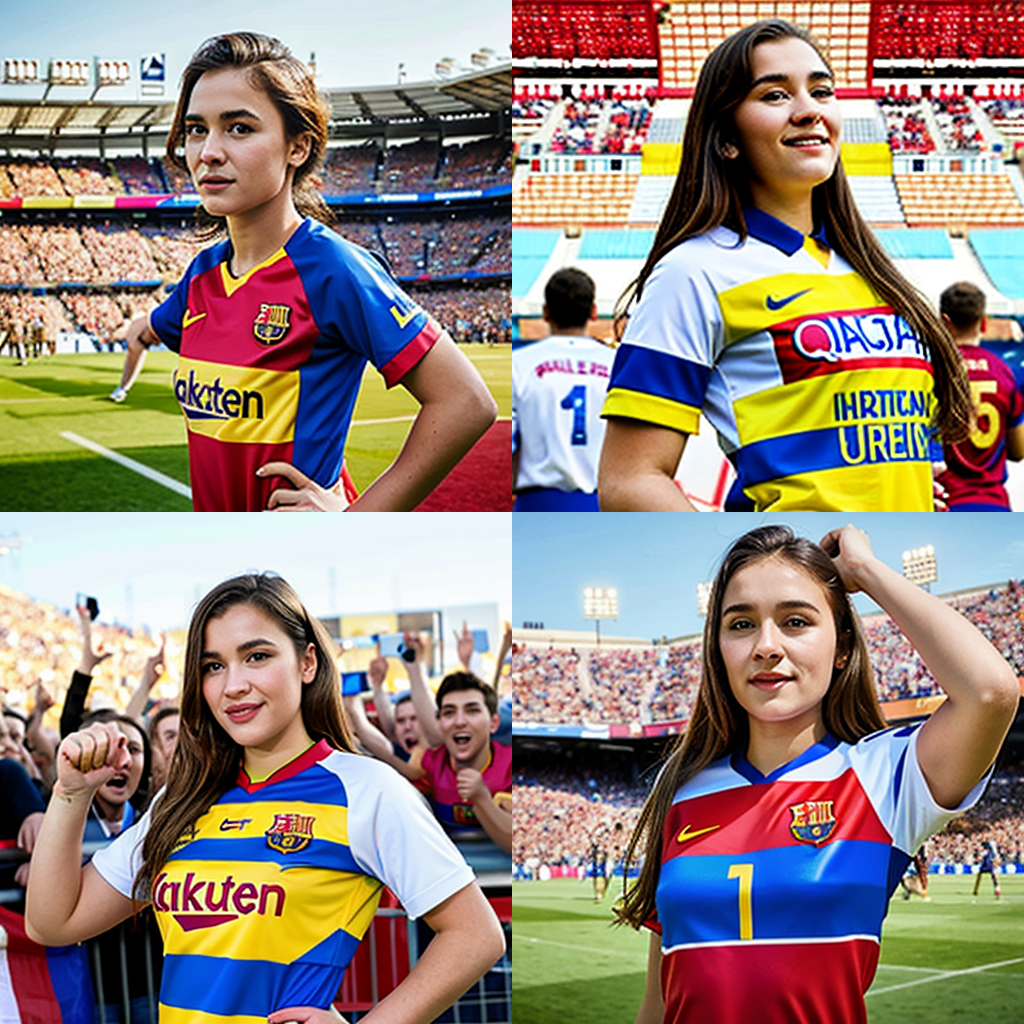
A pop art ultra-realistic portrait of a young woman with an FC Barcelona jersey celebrating a goal with football players and a crowd in the background, by Stanley Artgerm Lau and Agnes Martin.
Added artist name to the prompt
Since multiple artist names are provided, the output can be creative.
Website
Websites such as Artstation and Deviant Art have graphics of multiple genres. Adding these website names adds a style specific to them.
Let’s add “artstation” to our prompt.
By providing a website name to the prompt, some abstract background may be produced.
Resolution
Adding resolution specifications such as highly detailed, HD, 4K, 8K, vray, unreal engine, or sharp focus helps get much more details in the image. Let’s try this out.
A pop art ultra-realistic portrait of a young woman with an FC Barcelona jersey celebrating a goal with football players and a crowd in the background, by Stanley Artgerm Lau and Agnes Martin, artstation, 4K, sharp focus.
Specifying 4K and sharp focus will emphasize the texture details
You may have notice that the prompt doesn’t need to be a sentence. You can also put in the keywords separated by comma. The embedding engine can understand it well.
Lighting
Adding lighting keywords can enhance the look and feel of the scene. Examples include rim lighting, cinematic lighting, volumetric lighting, crepuscular rays, backlight, or dimly lit. So you can modify the prompt into:
A pop art ultra-realistic portrait of a young woman with an FC Barcelona jersey celebrating a goal with football players and a crowd in the background, by Stanley Artgerm Lau and Agnes Martin, artstation, 4K, sharp focus, rim lighting.
Prompt with “rim lighting” will enhance the outline
If you are not familiar with photography, rim lighting is to set up light behind the subject such that the rim of the subject will be outlined by the light.
We can also use ControlNets or Regional Prompter to have much greater control.
Color
The overall color tone of the image can be controlled using any color keyword.
A pop art ultra-realistic portrait of a young woman with an FC Barcelona jersey celebrating a goal with football players and a crowd in the background, by Stanley Artgerm Lau and Agnes Martin, artstation, 4K, sharp focus, rim lighting, cyan.
Adding “cyan” to the prompt will introduce more of such color to the output.
Ok, we can see some cyan in the images now. But since the prompt didn’t say “cyan shirt” or “cyan dye hair”, you left the room for reinterpretation so the color may appear anywhere.
Using Negative Prompts
Rather than describing what should be in the image, the negative prompt is a way to describe what should not be present in the image. This can include attributes, objects, or styles. We can have a generic prompt like the one below for all our image-generation tasks. The good thing about negative prompt is that you can keep a standard template for negative prompt to reuse for many tasks. But some models (such as SD 2.0 or SD XL) are less dependent on the negative prompt.
(worst quality, low quality, normal quality, low-res, low details, oversaturated, undersaturated, overexposed, underexposed, grayscale, bw, bad photo, bad photography, bad art:1.4), (watermark, signature, text font, username, error, logo, words, letters, digits, autograph, trademark, name:1.2), (blur, blurry, grainy), morbid, ugly, asymmetrical, mutated malformed, mutilated, poorly lit, bad shadow, draft, cropped, out of frame, cut off, censored, jpeg artifacts, out of focus, glitch, duplicate, (airbrushed, cartoon, anime, semi-realistic, CGI, render, blender, digital art, manga, amateur:1.3), (3D,3D Game, 3D Game Scene, 3D Character:1.1), (bad hands, bad anatomy, bad body, bad face, bad teeth, bad arms, bad legs, deformities:1.3)
We have already used this prompt in our generations so far.
Emphasizing Keywords
We can let stable diffusion know if we want to emphasize some keywords within the prompt and to what extent. This can be achieved using the below methods:
Use of Factor
We can modify a keyword’s weightage using the syntax (keyword: factor). The factor is the numeric value. Let’s try this in our example.
A pop art ultra-realistic portrait of a young woman with an FC Barcelona jersey (celebrating: 2) a goal with football players and a crowd in the background, by Stanley Artgerm Lau and Agnes Martin, artstation, 4K, sharp focus, rim lighting, cyan.
Emphasizing the keyword “celebrating” in prompt
Not in the same line as the previous generations. Maybe the model has a different take on celebration. That’s also an example of why you need to experiment with the prompts.
Another way to add emphasis is the use of round brackets. It has the same effect as using a factor of 1.1. We can also use double or triple brackets for higher emphasis.
- (keyword) is equivalent to (keyword: 1.1)
- ((keyword)) is equivalent to (keyword: 1.21)
- (((keyword))) is equivalent to (keyword: 1.33)
Similarly, the effects of using multiple square brackets are:
- [keyword] is equivalent to (keyword: 0.9)
- [[keyword]] is equivalent to (keyword: 0.81)
- [[[keyword]]] is equivalent to (keyword: 0.73)
Keyword Blending
As the name suggests, keyword blending can help combine the effects of multiple subjects at once. Popular ways of keyword blending are below.
- [keyword1 : keyword2: factor]
- (keyword1: factor1), (keyword2: factor2)
Let’s use the second format in our prompt.
A pop art ultra-realistic portrait of a young woman, (Gal Gadot: 0.9), (Scarlett Johansson: 1.1), with an FC Barcelona jersey celebrating a goal with football players and a crowd in the background, by Stanley Artgerm Lau and Agnes Martin, artstation, 4K, sharp focus, rim lighting, cyan.
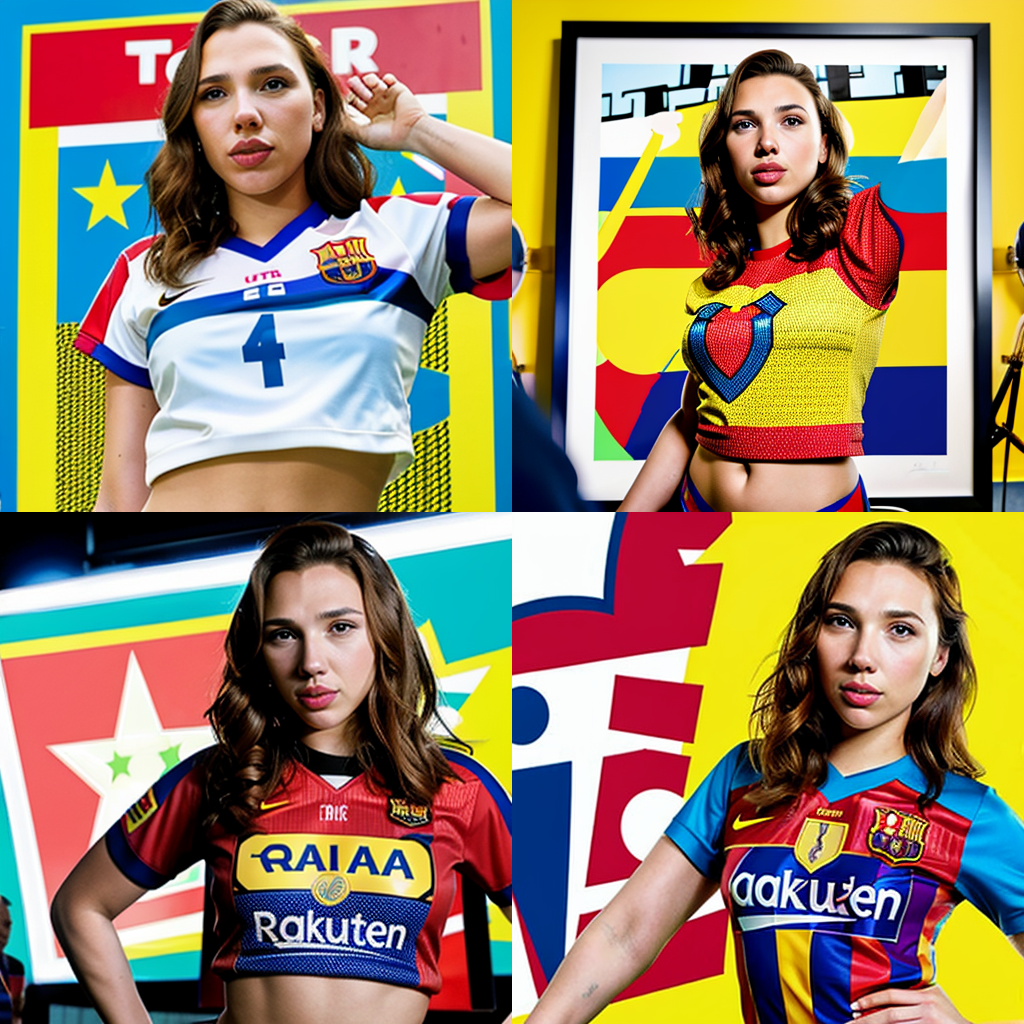
Controlling how the face should look like by prompting
That’s a good hybrid. It’s Marvel vs DC on the football field. However, it looks like the model completely forgot about the celebration, crowd, and player in the process. That can be improved by trying to create a prompt differently or rephrase it.
Finally, below is the effect of applying the same prompt, but to use the model Anything XL v5.0 instead. This is a model for anime or cartoon style. The difference should be very obvious:
Cartoon style obtained by using the same prompt but a different model
To summarize, there is a lot to experiment with when it comes to prompting a stable diffusion generator and expertise can only come with practice. So keep practicing!
Further Readings
Below are some resources that might help you in prompting:
- Stable Diffusion page from InstallGentoo wiki
- Data files from the CLIP interrogator source code
Summary
In this post, you learned how to create a prompt to make Stable Diffusion generate a picture you like. You learned that the key is to give a specific description of the picture. You should include in the prompt:
- The subject: What the main focus looks like. If a person describes the clothing, action, and pose, it would help a lot.
- The medium and style: Tell if it is a photograph, a sketch, or a watercolor painting, for example
- Name of some artists or a website if you want it to be in a particular style
- Resolution and lighting: You get more details by giving 4K and sharp focus. Describing the lighting will show a different effect, too.
- Other details: You can add more descriptive features to the prompt, including the main color or the angle
The output provided by Stable Diffusion can vary a lot depending on many other parameters, including the model. You need to experiment to find the best generation.
Get Started on Mastering Digital Art with Stable Diffusion!
Learn how to make Stable Diffusion work for you
...by learning some key elements in the image generation process
Discover how in my new Ebook:
Mastering Digital Art with Stable Diffusion
This book offers self-study tutorials complete with all the working code in Python, guiding you from a novice to an expert in image generation. It teaches you how to set up Stable Diffusion, fine-tune models, automate workflows, adjust key parameters, and much more...all to help you create stunning digital art.


")


No comments yet.