
Stable Diffusion has taken the AI art world by storm, empowering users to generate stunning and imaginative visuals with just a few text prompts. This opens exciting possibilities for creatives, including crafting impactful commercial posters.
In this post, we’ll delve into using Stable Diffusion to design a compelling poster for a product. After finishing this post, you will learn:
- How to prepare a photo of a product for use in Stable Diffusion
- How to create an appealing commercial poster without any sophisticated drawing technique
Let’s get started
Stable Diffusion Project: Commercial Poster
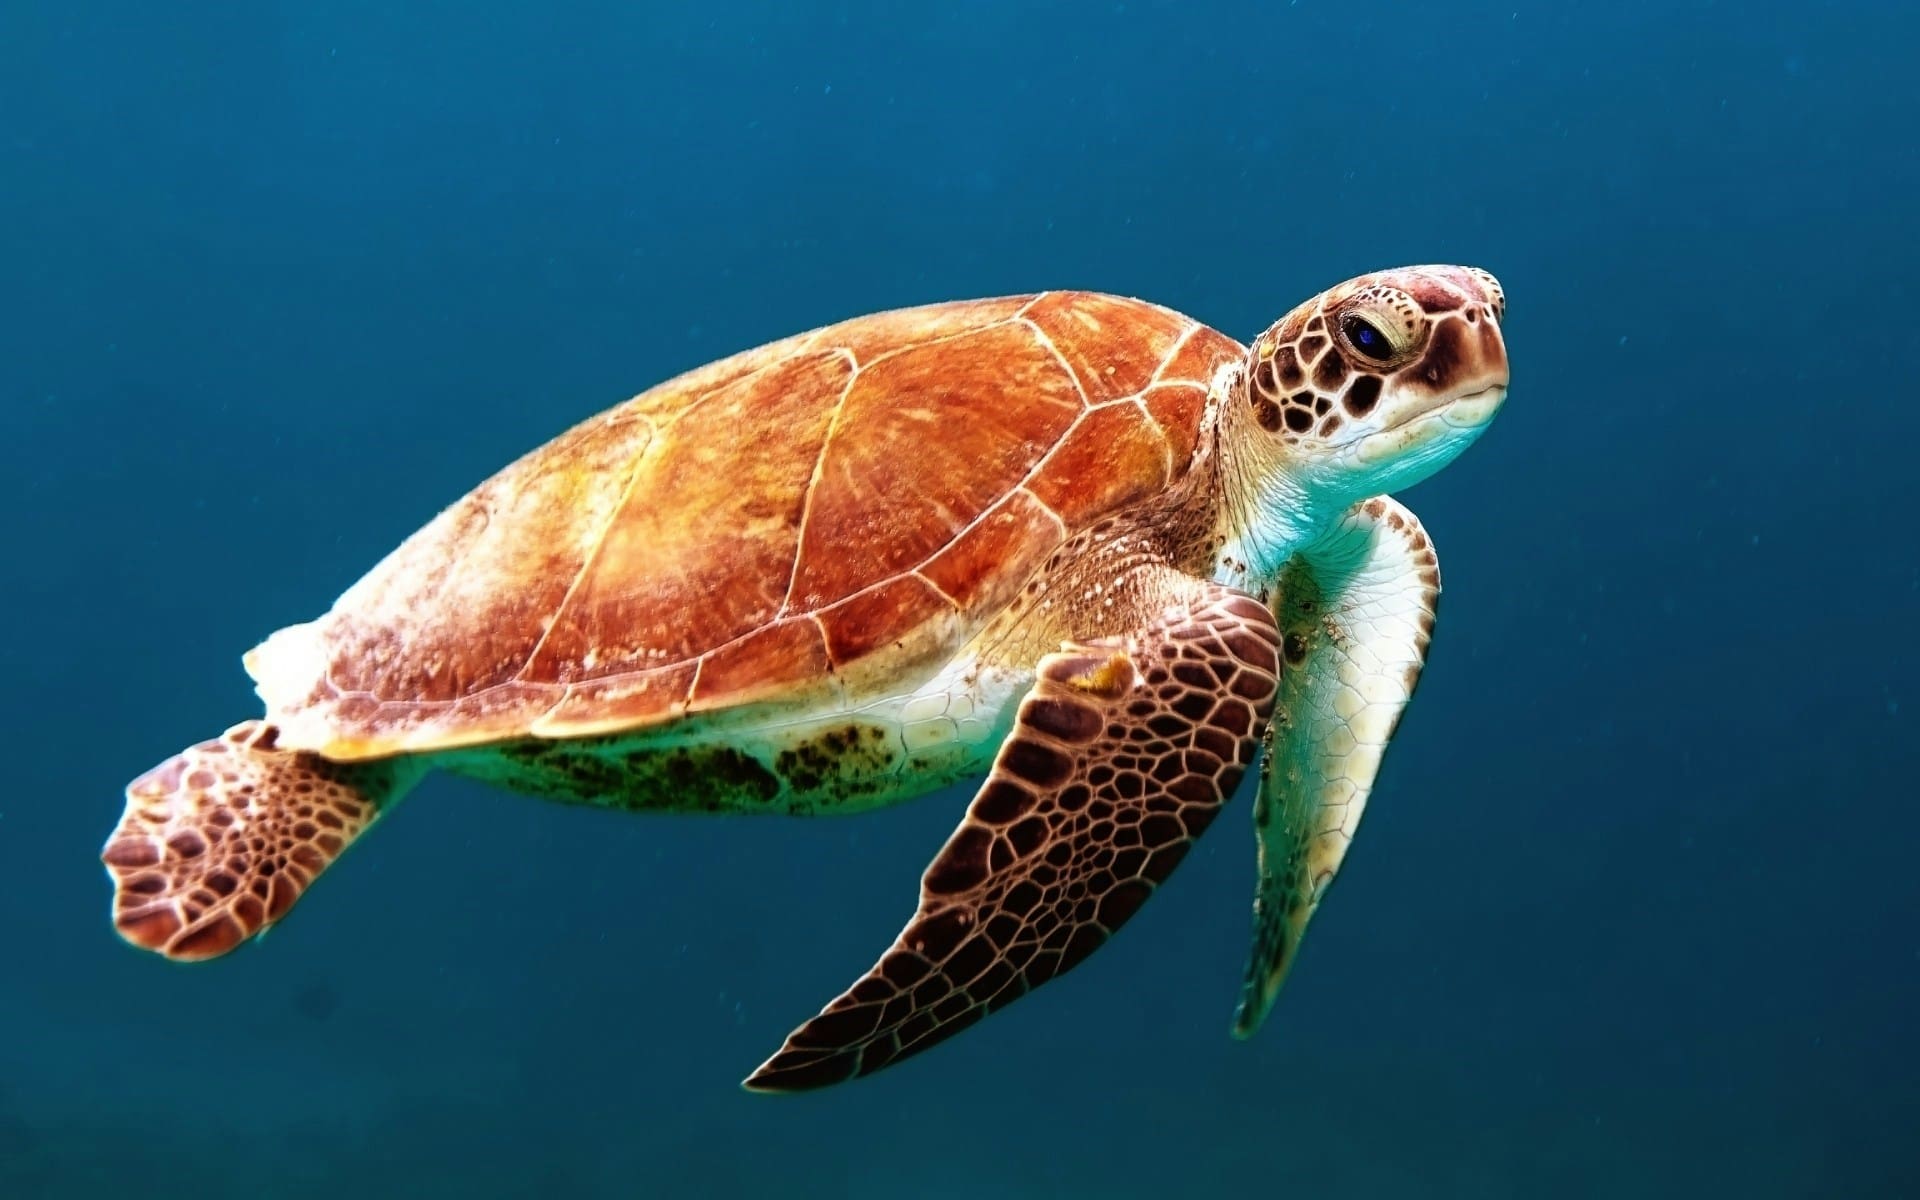
Photo by Wexor Tmg. Some rights reserved.
Overview
This post is in four parts; they are:
- Project Idea
- Creating the First Draft of the Poster
- Polishing the Poster
- Other Tricks
Project Idea
Let’s imagine you work for a cosmetic company, and a new perfume is coming soon. You have a picture of the perfume bottle, as follows, and you want to create a poster for it. To make things simple, let’s assume this poster has no text, and you want to consider the graphics only.
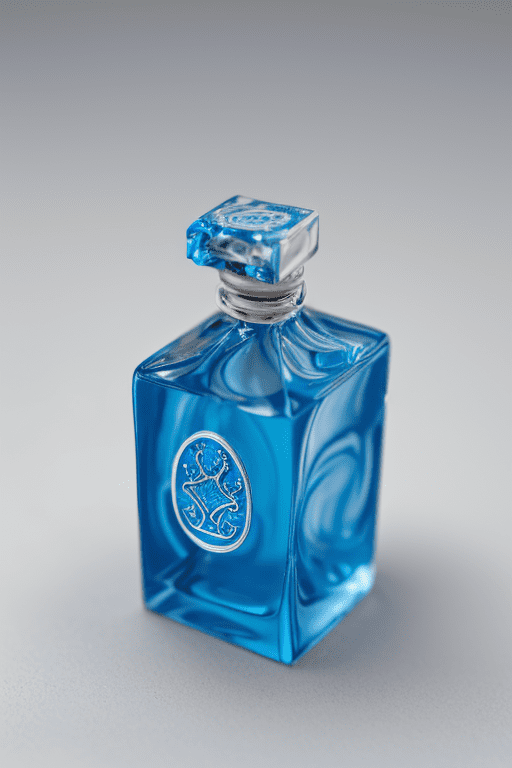
A bottle of perfume for the project (not real product, an imagination generated by Stable Diffusion)
This is a small blue bottle. The theme of this product is “ocean,” the poster design is up to your imagination.
Creating the First Draft of the Poster
First, let’s focus on the background because it sets the style and atmosphere of the overall poster. A simple prompt works:
Deep in the ocean, a school of fish swimming in a distant background, coral at bottom

Testing the prompt to verify the model and other parameters generates the picture that meets your expectation.
This looks good. Let’s add the product.
First you need to use Photoshop of GIMP to create a template. This is an important step that you will see the reason later. You set up the canvas (e.g., 512×768 pixel), in white background, and put the product on it. Note that you need to resize and rotate the product and put it on the canvas in the same way as you would like it to be in the final poster. An example is as follows:
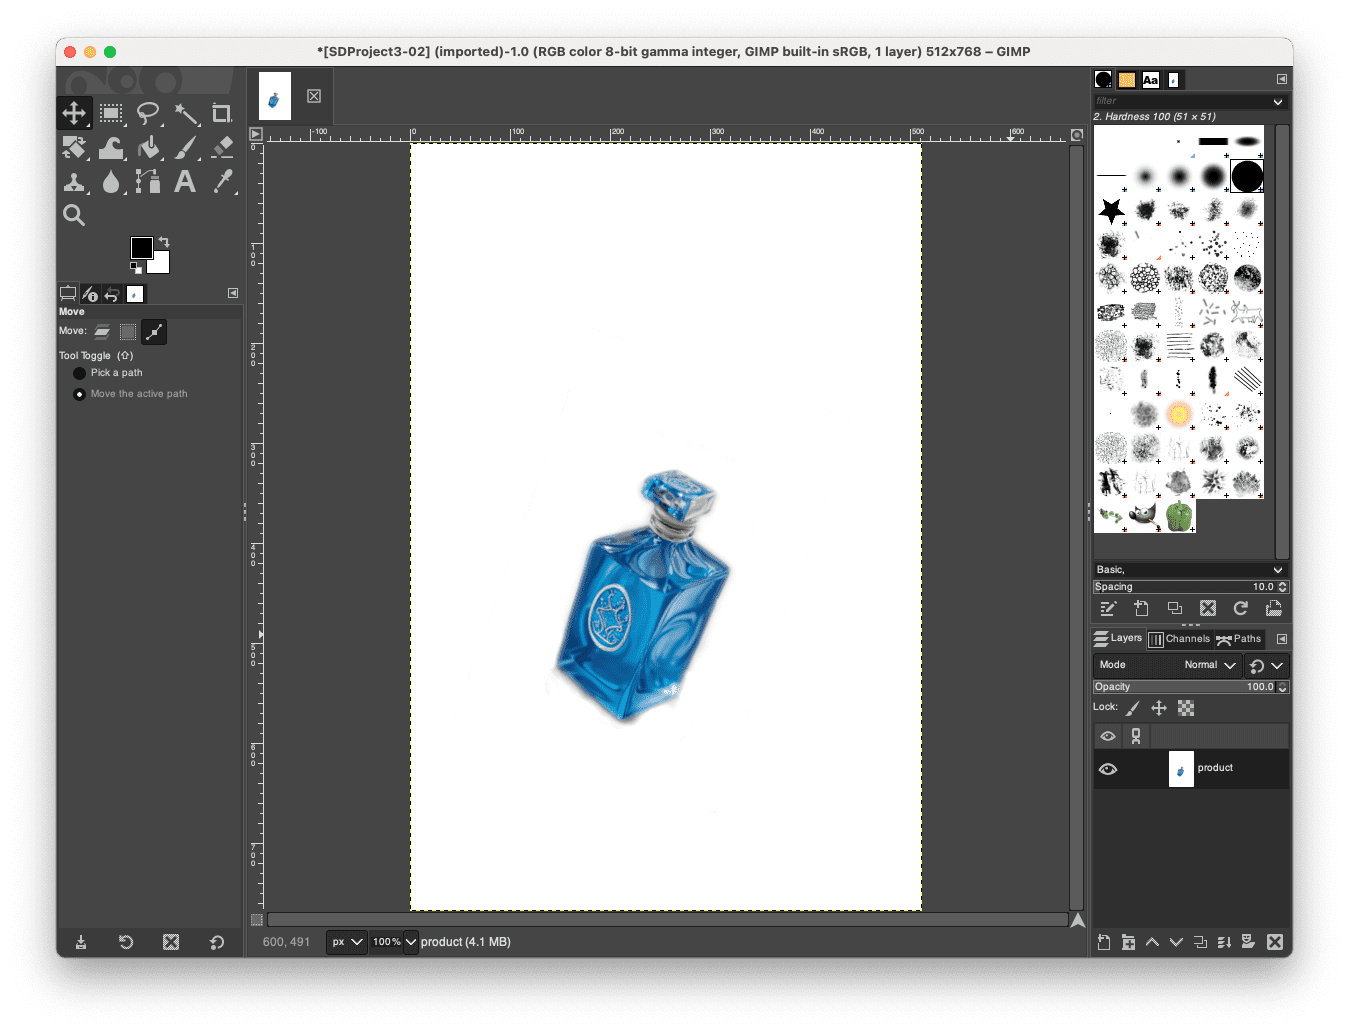
Creating a template of the poster in GIMP
Save this picture. Then go back to the Stable Diffusion Web UI. At ControlNet, upload this picture and select Canny as the control type. Set the width and height of the image generated to be 512×768 pixels. Modify the prompt to mention the bottle, such as
Deep in the ocean, a school of fish swimming in a distant background, coral at bottom. A bottle suspending in the water.
Run generate and you will see a picture like the following:

Creating a picture of a bottle in ocean with the help of ControlNet
You see that the generated picture is different from the one without ControlNet. That’s expected because you changed the diffusion process a lot. You can try to increase the batch count and batch size to generate a few and pick the best.
But here you have a serious issue: The bottle is not the same as the original. In this case, you should export the image and do some editing. Remember the template image you created at the beginning? Because it is a white background, you can easily set the background transparent in Photoshop or GIMP. Make the newly generated picture as a background layer, the original template as the top layer, and remove the white background. This makes the correct product on the background, and it matches perfectly on the size and position because you used the Canny type ControlNet in generating the picture. You will see an effect like the following:
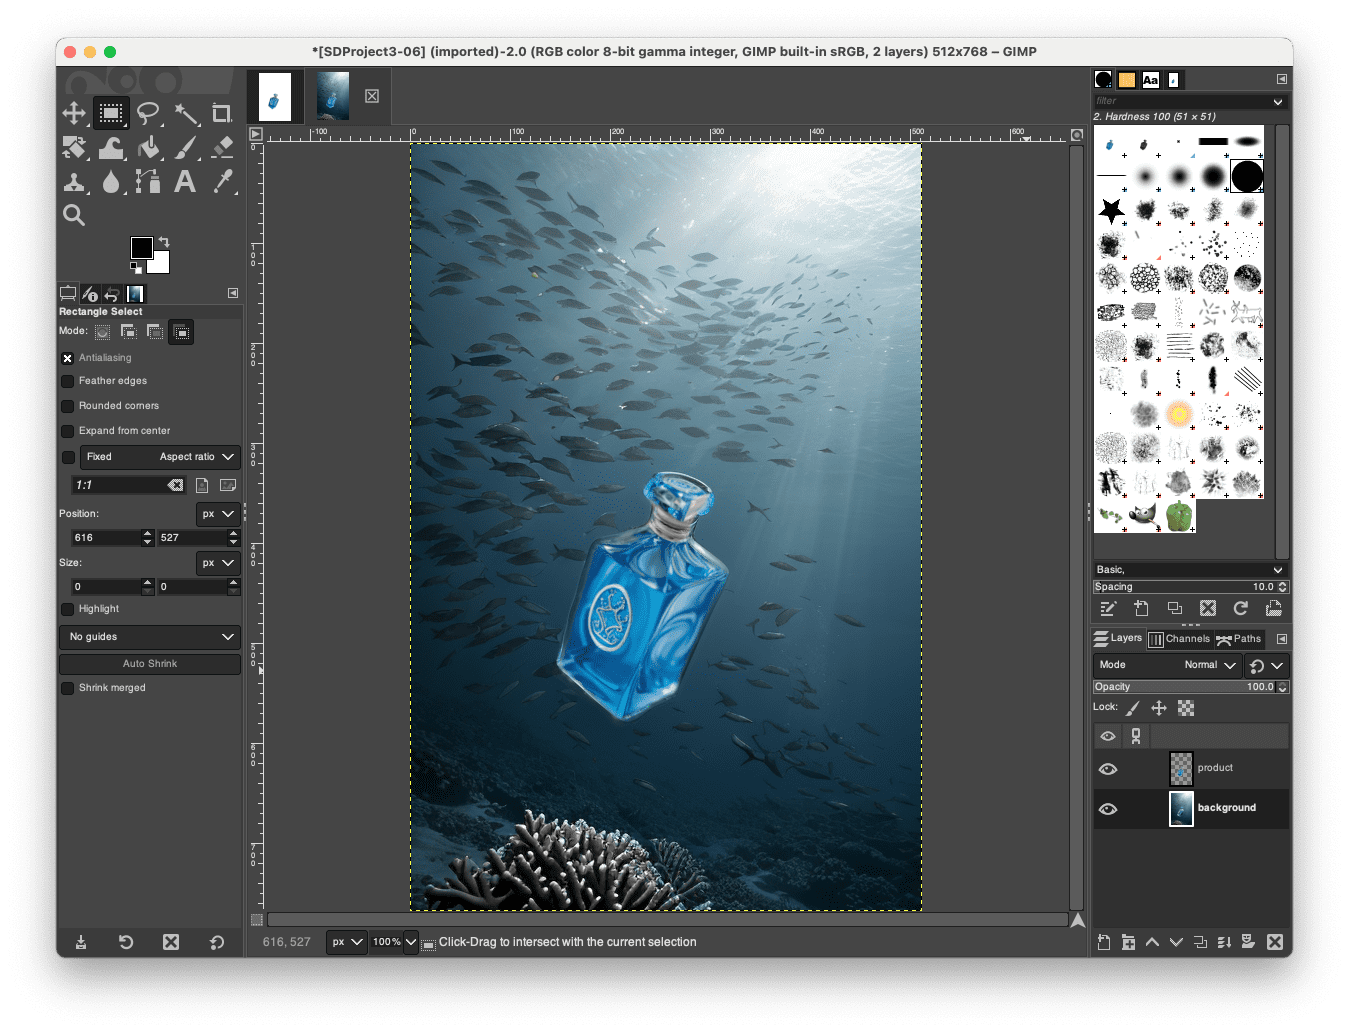
Using GIMP to overlay the actual product over the generated picture
Looks right but not perfect. The bottle may blended into the background awkwardly. And the resolution is too low to be a poster. But let’s save it as an intermediate picture first.
Polishing the Poster
The trick to do minor touch up to the output is to use img2img generation in Stable Diffusion. You provide the image with no prompt, and set the denoising strength to low but not zero value, then you are asking Stable Diffusion to regenerate the same picture with some minor change. Usually, those are the touch-ups on the parts that look unnatural.
In this example, you upload the image at img2img tab, and set the resize mode to “Just resize” (so that aspect ratio is preserved). Then pick the “Resize by” tab and max out it to 4x scale. Most sampling methods work but you want more sampling steps (so each steps are small to avoid drastic change to the picture). You can lower the CFG scale a bit, but set “Denoising strength” to 0.33.
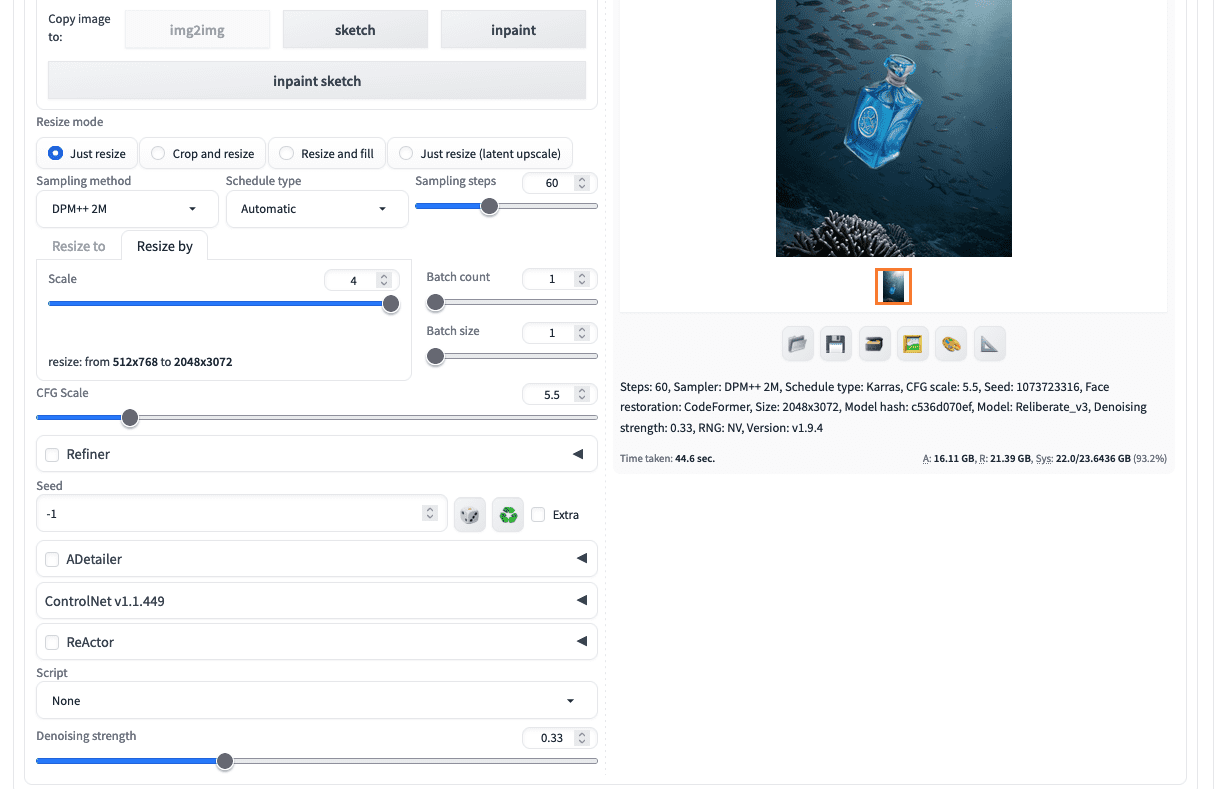
Resizing the poster as a technique of retouching
The result is as follows:

The generated poster
Other Tricks
This is an example of a multi-step workflow. You can explore the many features in Stable Diffusion and combine them in multiple steps to create an amazing result.
For example, you can use two ControlNet units in the txt2img step: One for the subject and one for the background. You can use Canny for the subject as above. But instead of writing a detailed prompt to create the background, you can provide a sample picture to the second unit of ControlNet and set the control type to IPAdapter. In this way, the sample picture’s color scheme and style will be adopted. You can use a simpler description of the background as the prompt. The diffusion process will know what to generate.
Remember when you use more than one ControlNet units, you must lower the control weight of all units because the total influence to the final output is the sum of all the weights.
Further Readings
This section provides more resources on the topic if you want to go deeper.
- Reliberate model on Hugging Face
- ControlNet on GitHub
- Adding Conditional Control to Text-to-Image Diffusion Models by Zhang et al (2023)
- IP Adapter web site
- IP-Adapter: Text Compatible Image Prompt Adapter for Text-to-Image Diffusion Models by Ye et al (2023)
Summary
In this post, you experienced a workflow to involve multiple steps in Stable Diffusion to create the final output. You used txt2img to create a picture and img2img function to polish the output. You also used external picture editor to help creating images for use with ControlNet. Not a single tool to get all the job done, but you learned how to use Stable Diffusion as a building block for a larger project.


")


No comments yet.